Newsletter Subscribe
Enter your email address below and subscribe to our newsletter
All voices matter
All voices matter
 ByTravis
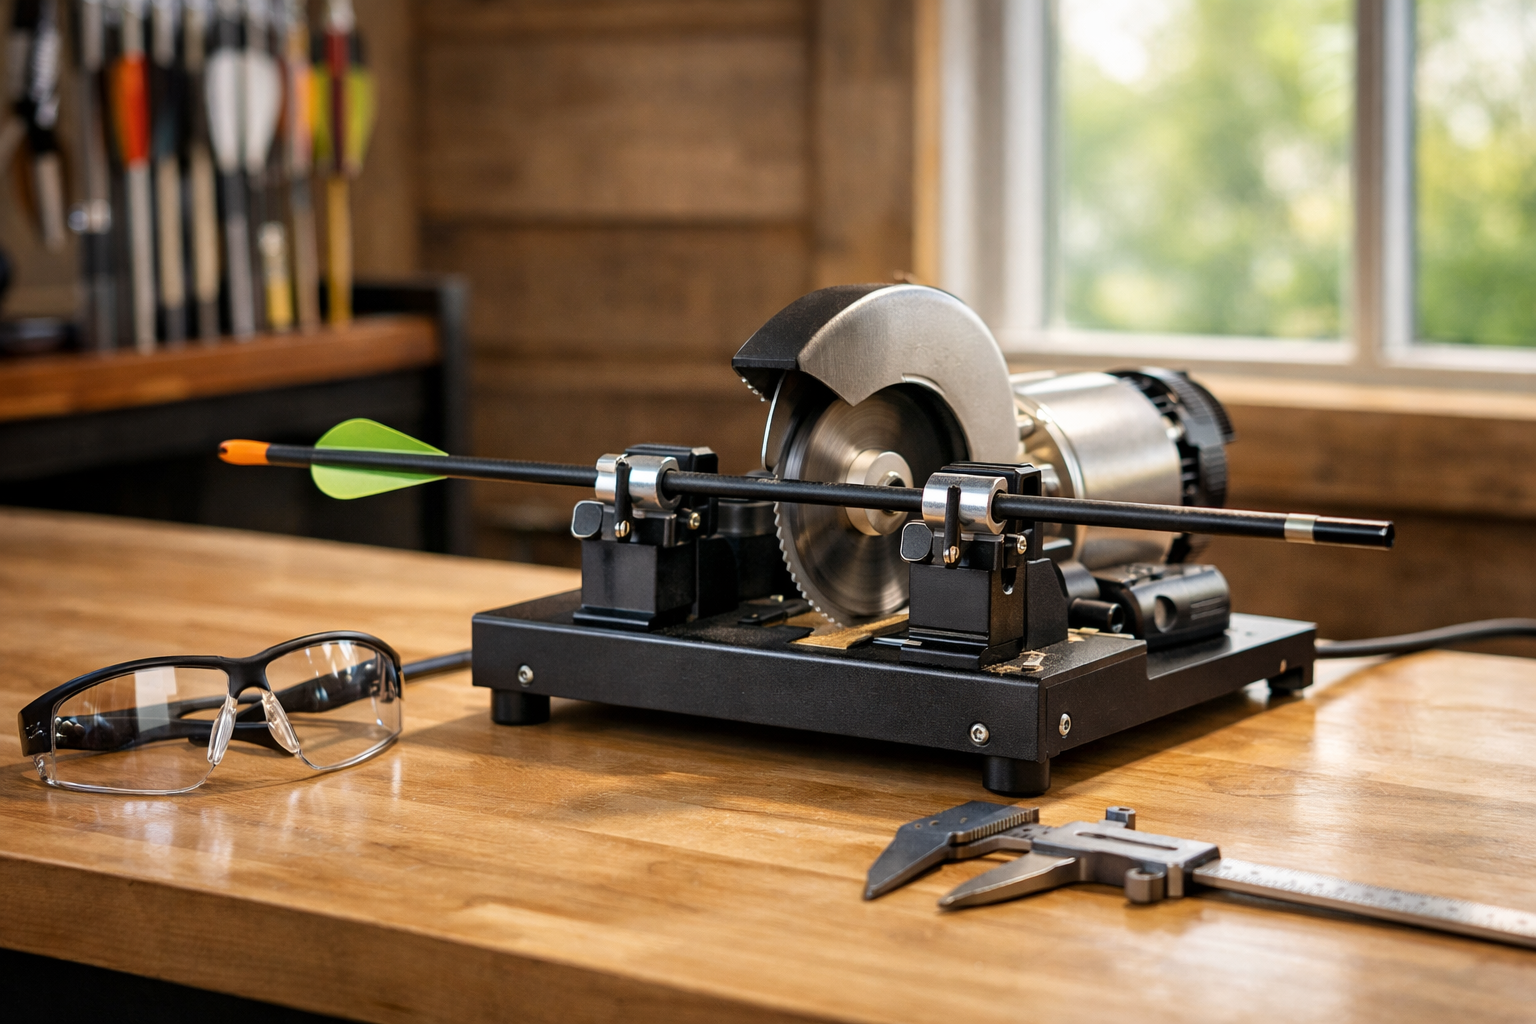
Cutting arrows to length safely means measuring your draw length plus 1-2 inches, securing the shaft in an arrow saw, wearing safety gear, and deburring a clean perpendicular cut.
Affiliate Disclaimer: We are a participant in the Amazon Services LLC Associates Program, an affiliate advertising program designed to provide a means for sites to earn advertising fees by advertising and linking to Amazon.com. As an Amazon Associate I earn from qualifying purchases. We also participate in other affiliate programs.
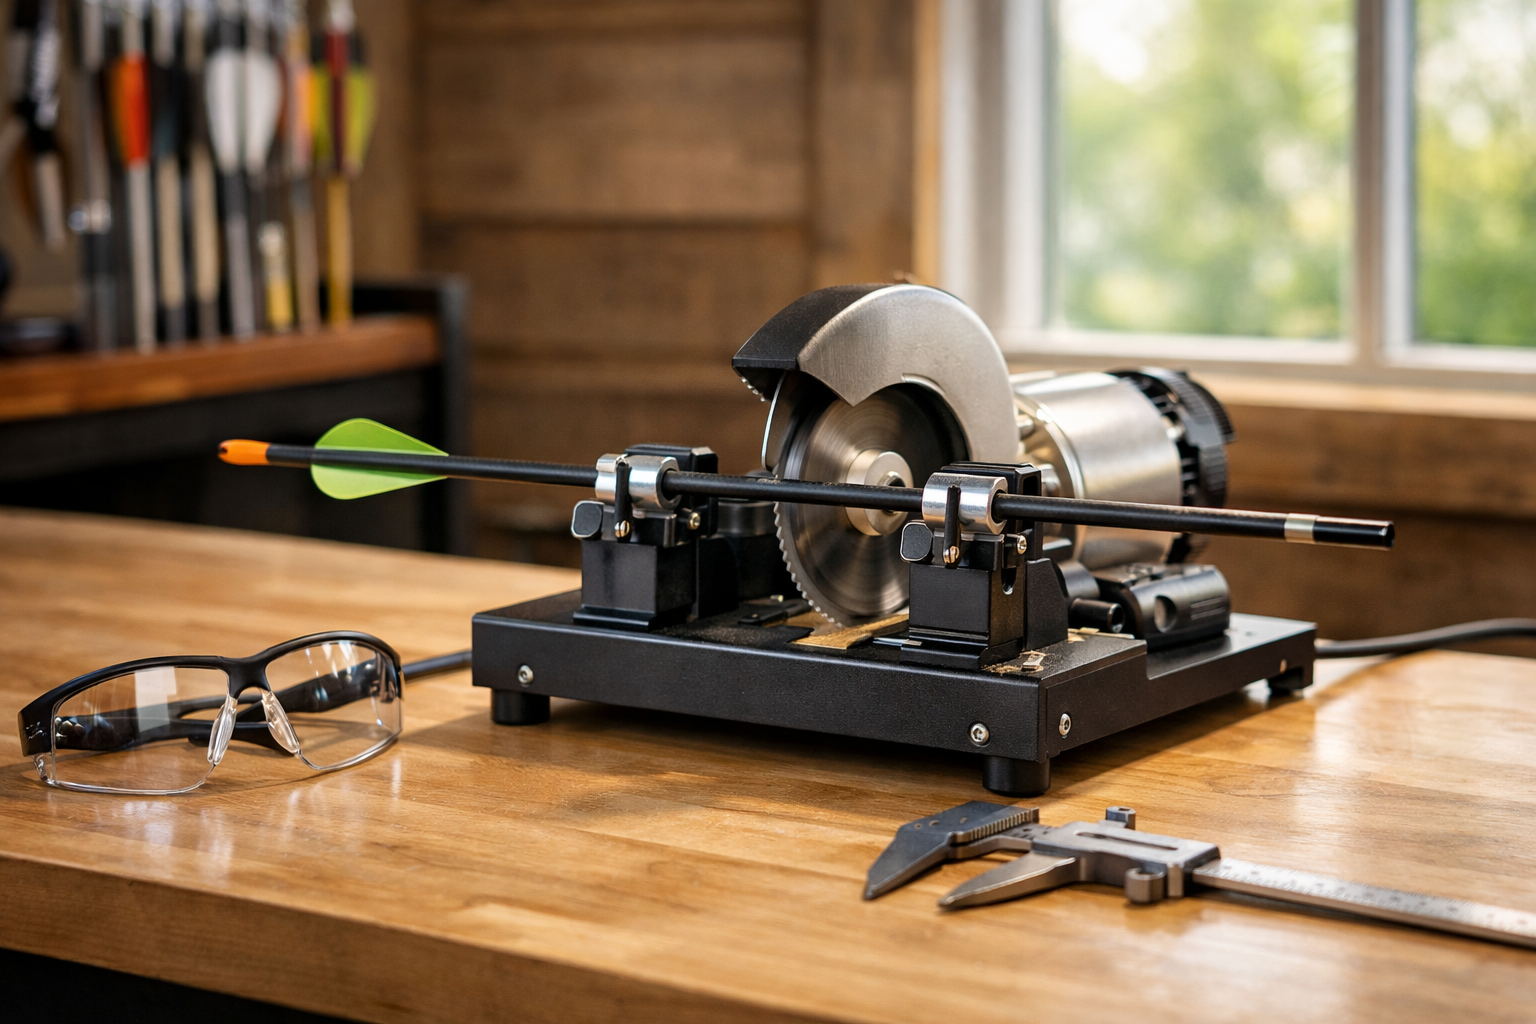
Quick Answer: Cutting arrows to length safely requires measuring your proper draw length plus 1-2 inches for clearance, securing the arrow shaft in a specialized arrow saw or rotary tool with an abrasive cutoff wheel, wearing safety glasses and a dust mask, and making a clean perpendicular cut followed by deburring the edges. Carbon arrows demand extra caution because carbon fiber dust is hazardous when inhaled, and improper cutting can cause dangerous splintering.
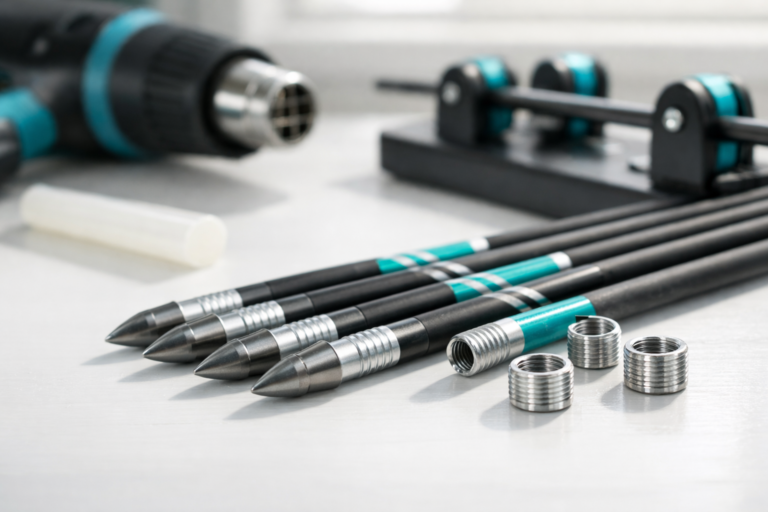
Cutting carbon arrows at home requires a few essential tools to ensure clean, safe cuts. At minimum, you need a cutting tool (arrow saw, Dremel rotary tool, or fine-tooth hacksaw), safety equipment (safety glasses and dust mask), measuring tools (tape measure or arrow measuring gauge), a permanent marker, and sandpaper or a deburring tool.
Essential cutting tools include:
Required safety equipment:
Measurement and finishing tools:
The total investment for a basic home setup ranges from $50-100 if you already own a rotary tool, or $100-200 for a complete kit with a dedicated arrow saw. For archers who plan to cut arrows regularly or work with multiple shaft types, a dedicated arrow saw is worth the investment for consistency and safety.
Measuring arrow length correctly starts with determining your draw length, then adding 1-2 inches for safe clearance past the arrow rest. The standard measurement is taken from the bottom of the nock groove (where the string sits) to the end of the shaft, not including the point or insert.
Step-by-step measurement process:
Common measurement mistakes to avoid:
For compound bow shooters, the arrow should extend 1 inch past the arrow rest at full draw. Recurve and traditional bow shooters typically need slightly more clearance (1.5-2 inches) because the arrow passes across the bow hand. When in doubt, start longer and trim gradually, testing the arrow at full draw between cuts. Understanding your draw length is fundamental to arrow safety and performance.
You should not use a standard pipe cutter on arrows, especially carbon arrows, because pipe cutters crush and deform the shaft rather than making a clean cut. While aluminum arrows might survive a pipe cutter with minimal damage, carbon arrows will splinter, crack, or develop internal fractures that compromise structural integrity and create safety hazards.
A specialized arrow saw or rotary cutting tool is strongly recommended because these tools cut through the material cleanly without applying crushing force. Arrow saws feature fine-tooth blades (typically 100+ teeth) that slice through carbon fiber or aluminum without deforming the shaft walls. The blade rotates at high speed while the arrow remains stationary in a holder, ensuring a perpendicular cut.
Why pipe cutters fail for arrows:
Better alternatives for home use:
If you’re considering cutting arrows regularly, invest in proper equipment. A single damaged arrow that fails during a shot can cause injury and damage to your bow. For occasional arrow cutting, many archers find that a Dremel-style rotary tool offers the best balance of affordability and results.
Carbon arrows and aluminum arrows require different cutting approaches due to their material properties. Carbon arrows are made from woven carbon fiber strands bonded with resin, which can splinter and create hazardous dust when cut, while aluminum arrows are solid metal that produces metal shavings but cuts more predictably.
Carbon arrow cutting considerations:
Aluminum arrow cutting considerations:
Safety differences:
Carbon arrows demand more stringent safety precautions. The microscopic carbon fibers can become airborne and cause respiratory irritation or lung damage with repeated exposure. Always cut carbon arrows outdoors or in a well-ventilated area with proper respiratory protection. Aluminum arrows primarily require eye protection to prevent metal shavings from causing injury.
Both carbon arrows and aluminum arrows benefit from using a dedicated arrow saw, but carbon arrows are far less forgiving of improvised cutting methods. If you’re working with carbon shafts, investing in proper equipment and safety gear is not optional.
Cutting arrows too short creates serious safety hazards and performance problems that cannot be reversed. An arrow that is too short may not extend past the arrow rest at full draw, which can cause the arrow to fall off the rest, slip behind the riser, or even cause a dry-fire situation that damages your bow and risks injury.
Immediate safety risks:
Performance consequences:
The one-inch rule: Your arrow should extend at least 1 inch past the arrow rest at full draw for target shooting, and 1.5-2 inches for hunting (to accommodate broadhead length). This provides a safety margin for slight variations in draw length and ensures the arrow clears all bow components.
If you accidentally cut arrows too short, they cannot be salvaged for use with your current bow setup. The only options are to retire them from use, repurpose them for a shorter draw length bow, or use them for practice with broadheads at very close range where draw length can be reduced. This is why experienced archers always recommend cutting conservatively and testing before making final cuts. For more guidance on when arrows should be retired, see our arrow retirement safety guide.
Preventing splintering and cracking during arrow cutting requires proper technique, sharp cutting tools, and controlled cutting speed. The key is to support the arrow shaft completely, use a tool designed for clean cuts, and avoid applying excessive pressure that can cause the material to fracture.
Step-by-step cutting technique:
Critical technique points:
For carbon arrows specifically:
Carbon fiber arrows are most prone to splintering because they consist of woven fibers. If you cut too aggressively, the resin matrix can fracture before the fibers are cleanly severed, causing delamination and splintering. Always use an abrasive cutoff wheel rather than a toothed blade for carbon, and make sure the wheel is rated for composite materials.
For aluminum arrows:
Aluminum is more forgiving but can still crack if the shaft wall is pinched during cutting. Use a fine-tooth blade (32 TPI or higher) and ensure the shaft is supported without being crushed in the vise or holder.
If you notice any splintering, cracking, or delamination after cutting, that arrow should be retired immediately. Even minor damage can propagate during shooting and cause catastrophic failure. Check our guide on when to retire an arrow for more safety information.
Yes, you must deburr and smooth the cut edge of every arrow after cutting to remove sharp edges, burrs, and loose material. Failing to deburr can damage your arrow rest, cause inconsistent arrow flight, prevent proper insert installation, and create sharp edges that can cut your fingers or equipment.
Why deburring is essential:
Deburring process:
Tools for deburring:
Special considerations for carbon arrows:
Carbon arrows require extra attention during deburring because loose carbon fibers can prevent proper insert adhesion and create weak points. After cutting, you may see loose fibers extending from the cut edge. These must be removed completely. Use a deburring tool or sandpaper to remove all loose material, then clean the shaft interior with isopropyl alcohol before installing inserts.
The entire deburring process takes only 2-3 minutes per arrow but is critical for safety and performance. Arrows that are not properly deburred can cause equipment damage and inconsistent arrow flight, affecting your accuracy and potentially causing arrow damage during shooting.
For beginners cutting arrows occasionally, a Dremel or similar rotary tool with an abrasive cutoff wheel offers the best value and versatility, costing $30-80 and serving multiple purposes beyond arrow cutting. A dedicated arrow saw produces cleaner, more consistent cuts but costs $40-150 and serves only one purpose, making it better suited for archers who cut arrows frequently or work with multiple shaft types.
Dremel/Rotary Tool Advantages:
Dremel/Rotary Tool Disadvantages:
Dedicated Arrow Saw Advantages:
Dedicated Arrow Saw Disadvantages:
Recommendation by use case:
For most beginners, a quality rotary tool like a Dremel with a pack of abrasive cutoff wheels ($5-10 for a multi-pack) provides everything needed to cut arrows safely and accurately. As you gain experience and if you find yourself cutting arrows more frequently, you can upgrade to a dedicated arrow saw. Many archers successfully cut hundreds of arrows over the years using only a rotary tool and proper technique.
Yes, virtually all archery pro shops and many sporting goods stores with archery departments offer arrow cutting services, typically charging $1-3 per arrow or sometimes including the service free with arrow purchases. This is often the best option for beginners, occasional archers, or anyone cutting arrows for the first time.
Typical bow shop arrow cutting services:
Advantages of professional cutting:
When to use a bow shop:
When to cut arrows yourself:
Many experienced archers use a hybrid approach: have the shop cut their first set of arrows for a new bow to establish the correct length, then cut subsequent arrows themselves using that measurement as a reference. This ensures you start with the correct length while building the skills and equipment to maintain your own arrows.
If you’re just starting out or introducing kids to archery, professional cutting eliminates one variable and ensures safety. As you gain experience, you can decide whether investing in cutting equipment makes sense for your shooting frequency and budget.
The most common mistake when cutting arrows is measuring incorrectly or cutting too short, which cannot be reversed and renders the arrow unsafe or unusable. Other frequent errors include using inappropriate tools, neglecting safety equipment, cutting too quickly, and failing to deburr the cut edge properly.
Critical measurement and planning mistakes:
Tool and technique mistakes:
Safety mistakes:
Post-cutting mistakes:
The “measure twice, cut once” rule is critical with arrows. Unlike wood or metal projects where you can add material back, arrows cannot be lengthened once cut. Always start longer than you think you need, test the arrow at full draw, and trim gradually if needed. Many experienced archers deliberately leave arrows 1/4 inch longer than minimum and only trim further if they experience clearance issues.
For proper arrow care and maintenance, establishing good cutting habits from the beginning prevents costly mistakes and ensures your arrows perform safely and consistently.
If you don’t have a dedicated arrow saw, you can successfully cut arrows using a Dremel-style rotary tool with an abrasive cutoff wheel, a fine-tooth hacksaw with a miter box, or by having a professional bow shop cut them for you. The rotary tool method produces the best results for DIY cutting without specialized equipment.
Rotary tool method (recommended):
Hacksaw method (backup option):
Improvised cutting jig:
You can build a simple arrow cutting jig for under $10 using:
Safety considerations for improvised methods:
When using tools not specifically designed for arrow cutting, safety becomes even more critical. Always wear safety glasses and a dust mask, work in a well-ventilated area, and take your time. Rushing with improvised equipment is when accidents happen.
When to skip DIY cutting:
If you’re cutting expensive hunting arrows, carbon arrows for the first time, or only need to cut a few arrows, paying a bow shop $1-3 per arrow is often the smarter choice. The cost of one ruined $15-20 hunting arrow exceeds the cutting fee for an entire dozen arrows.
For archers setting up a backyard archery range or shooting regularly, investing in proper cutting equipment pays for itself quickly and ensures consistent, safe results.
Cutting carbon arrows with a hacksaw is possible but not recommended because it requires exceptional skill to maintain a perpendicular cut, produces rougher edges that require extensive deburring, and increases the risk of splintering or cracking the carbon fiber. If a hacksaw is your only option, use a fine-tooth blade (32 TPI minimum) with a miter box and proceed with extreme caution.
Risks of using a hacksaw on carbon arrows:
If you must use a hacksaw:
Better alternatives:
For the cost of a quality hacksaw blade ($8-12), you can purchase a pack of abrasive cutoff wheels ($5-10) for a rotary tool, which produces far superior results. If you don’t own a rotary tool, having a bow shop cut your arrows for $1-3 each is safer and more reliable than attempting to use a hacksaw.
When hacksaw cutting is acceptable:
Aluminum arrows are more forgiving of hacksaw cutting than carbon arrows because the solid metal construction doesn’t splinter or delaminate. If you’re cutting aluminum arrows and have a proper miter box and fine-tooth blade, hacksaw cutting can produce acceptable results with careful technique.
Bottom line: While technically possible, cutting carbon arrows with a hacksaw should be a last resort. The risk of damaging expensive arrows and creating safety hazards outweighs any cost savings. For carbon arrows specifically, invest in proper equipment or use professional cutting services.
When cutting carbon fiber arrows, you must wear safety glasses or a face shield, an N95 respirator or dust mask rated for fine particles, and work gloves. Carbon fiber dust contains microscopic fibers that can cause serious respiratory irritation, eye damage, and skin irritation, making proper protective equipment non-negotiable.
Essential safety equipment:
Why carbon fiber is hazardous:
Carbon fiber arrows are made from thousands of microscopic carbon filaments bonded with epoxy resin. When cut, these filaments can break into tiny particles that become airborne. These particles are:
Proper workspace setup:
Additional safety practices:
Aluminum arrow safety:
While aluminum arrows don’t produce hazardous dust like carbon, you still need eye protection to prevent metal shavings from causing eye injury. A basic dust mask is sufficient for aluminum, but safety glasses remain essential.
Long-term exposure concerns:
For archers who cut arrows frequently (bow shop employees, arrow builders, serious competitors), repeated exposure to carbon fiber dust without proper protection can lead to chronic respiratory issues. If you cut arrows regularly, invest in a quality P100 respirator ($25-40) and consider a dedicated dust collection system.
Safety equipment for arrow cutting costs $20-40 total but protects you from injuries and health issues that could cost thousands in medical bills. Never skip safety gear when working with carbon fiber materials. For more safety guidance, see our comprehensive arrow safety resources.
You should cut arrows to extend 1-2 inches beyond your arrow rest at full draw, which typically means cutting them to your draw length plus 1-2 inches measured from the nock groove to the end of the shaft. Target archers can use the minimum 1-inch clearance, while bowhunters should add 1.5-2 inches to accommodate broadhead length and ensure safe clearance.
Standard arrow length formula:
Step-by-step process:
Draw length considerations:
Your draw length is measured from the nock point to the throat of the grip (pivot point) plus 1.75 inches (to account for the distance from the pivot point to the back of the riser where the arrow rest mounts). Most compound bows have draw lengths between 26-31 inches, with 28-29 inches being most common for adult males.
Clearance requirements by bow type:
Special considerations:
Common length mistakes:
The most frequent error is cutting arrows too short by not accounting for the difference between draw length and arrow length. Remember: draw length is measured to the pivot point of the grip, but your arrow must extend past the arrow rest, which is several inches in front of that pivot point.
Testing before final cuts:
Before cutting a full dozen arrows, cut one arrow to your calculated length and test it thoroughly:
For more information on proper shooting form and setup, see our guide on anchor point and draw technique.
Can I cut arrows that already have inserts installed?
No, you should never cut arrows that already have inserts installed. The cutting process will damage the insert, create metal shavings inside the shaft, and likely cause the arrow to splinter or crack. Always cut arrows to length before installing inserts, nocks, and fletching.
How do I know if I cut my arrow at the right angle?
A properly cut arrow should have a perfectly perpendicular edge when viewed from the side. Place the cut arrow on a flat surface and roll it slowly. If the end wobbles or doesn’t sit flat, the cut is not perpendicular. You can also use an arrow square tool to verify the cut angle before deburring.
Can I reuse arrows that were cut too short for a different bow?
Possibly, if the arrows are long enough for a shorter draw length bow. Measure the arrows and compare them to the draw length requirements of the other bow (draw length plus 1-2 inches). Never use arrows that don’t provide adequate clearance, even on a different bow.
What’s the difference between arrow length and draw length?
Draw length is the measurement of your bow’s draw cycle from the nock point to the pivot point of the grip plus 1.75 inches. Arrow length is the physical length of the arrow shaft from the bottom of the nock groove to the end of the shaft. Arrow length should be draw length plus 1-2 inches for safe clearance.
How often should I replace my arrow cutting blade or wheel?
Replace abrasive cutoff wheels when they become thin (less than 1/16 inch), develop wobble, or start producing rough cuts. For saw blades, replace when you notice increased cutting time, rough edges, or visible damage to the teeth. Most wheels last for 20-30 arrow cuts, while quality saw blades can cut hundreds of arrows.
Is it better to cut arrows slightly long or slightly short?
Always err on the side of cutting arrows slightly long. You can always trim more material off later, but you cannot add length back. An arrow that’s 1/4 inch too long will shoot fine, but an arrow that’s 1/4 inch too short may be unsafe.
Can I cut wooden arrows the same way as carbon or aluminum?
No, wooden arrows require different cutting techniques. Use a fine-tooth saw and cut slowly to prevent splintering. Wood arrows also need to be sealed after cutting to prevent moisture absorption. The techniques in this guide apply specifically to carbon and aluminum arrows.
What should I do with the cut-off pieces of arrow shaft?
Dispose of carbon fiber scraps in sealed plastic bags in your regular trash. Do not burn carbon fiber as it releases toxic fumes. Aluminum scraps can be recycled with other metals. Some archers save longer cut-off pieces to use as practice arrows for very short-range shooting.
How do I cut arrows if they’re already fletched?
You should remove the fletching before cutting arrows, as the vanes or feathers will interfere with the cutting process and may be damaged. Use a fletching removal tool or carefully scrape off the adhesive, cut the arrow to length, then re-fletch if needed.
Can I cut arrows to different lengths for the same bow?
While technically possible, using arrows of different lengths on the same bow is not recommended. Different lengths will have different spine characteristics and flight patterns, reducing consistency and accuracy. All arrows in your set should be cut to identical lengths.
What’s the minimum arrow length for safety?
The minimum safe arrow length is your draw length plus 1 inch, measured from the nock groove to the shaft end. This ensures the arrow extends past the arrow rest at full draw with minimal clearance. Hunting arrows should be longer (draw length plus 1.5-2 inches) to accommodate broadheads.
Do I need to cut arrows if I buy them pre-cut to my draw length?
Pre-cut arrows are typically cut to standard lengths (28″, 29″, 30″, etc.) and may not match your exact draw length requirements. Always verify that pre-cut arrows provide adequate clearance for your specific bow setup before shooting them. You may need to trim them further or they may already be the correct length.
Cutting arrows to length safely requires careful measurement, proper tools, appropriate safety equipment, and attention to technique. The process begins with accurately determining your draw length and adding 1-2 inches for safe clearance, then using a dedicated arrow saw or quality rotary tool to make clean, perpendicular cuts. Carbon arrows demand extra caution due to hazardous dust and potential for splintering, while aluminum arrows are more forgiving but still require proper technique.
Key steps for safe arrow cutting:
For beginners or those cutting arrows infrequently, having a professional bow shop cut your arrows for $1-3 each eliminates risk and ensures perfect results. As you gain experience and cut arrows more regularly, investing in your own equipment becomes cost-effective and allows for precise tuning and experimentation.
Remember that cutting arrows too short cannot be reversed and creates serious safety hazards. Always start conservatively, test thoroughly, and trim gradually if needed. With proper equipment, technique, and safety precautions, you can cut arrows at home with professional-quality results while maintaining the highest safety standards for yourself and your equipment.
For more information on arrow maintenance and safety, explore our guides on arrow inspection, arrow retirement, and complete arrow care practices.