
Newsletter Subscribe
Enter your email address below and subscribe to our newsletter

All voices matter
All voices matter
 ByTravis
An anchor point is a consistent spot where your drawing hand or string touches your face at full draw, ensuring repeatable shot placement - here's how to find yours.
Affiliate Disclaimer: We are a participant in the Amazon Services LLC Associates Program, an affiliate advertising program designed to provide a means for sites to earn advertising fees by advertising and linking to Amazon.com. As an Amazon Associate I earn from qualifying purchases. We also participate in other affiliate programs.
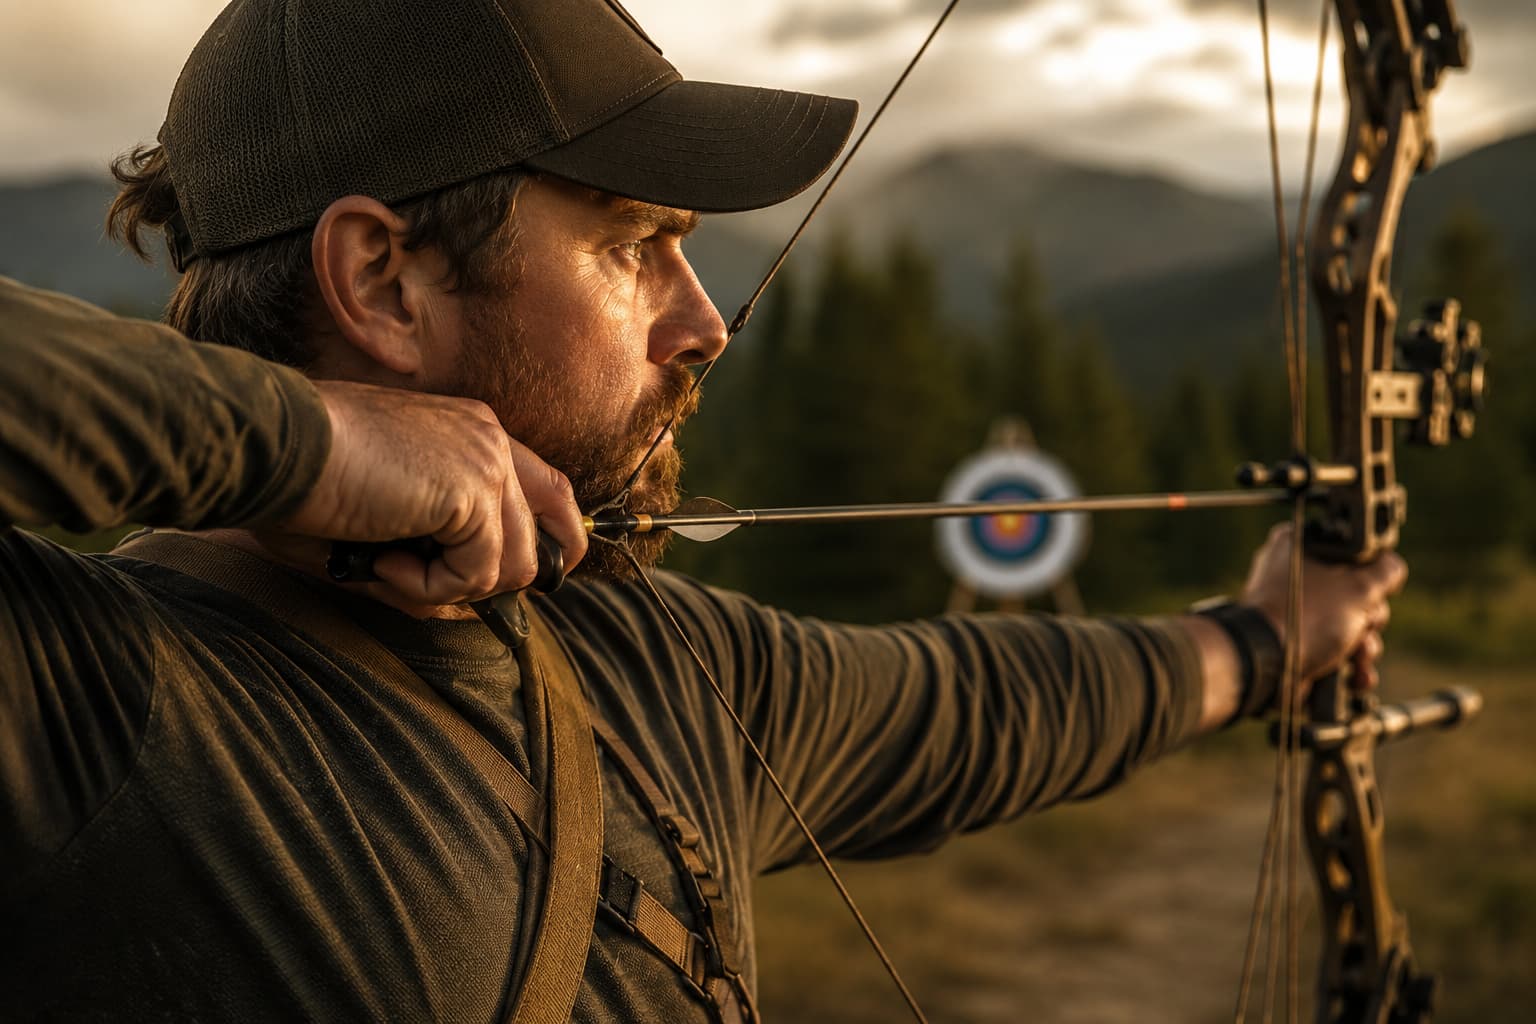
An anchor point in archery is a consistent reference position where your drawing hand or string contacts your face at full draw, ensuring repeatable shot placement. Finding your anchor point involves identifying a comfortable facial contact spot (typically the corner of the mouth, under the chin, or along the jawbone) that you can return to identically on every shot. The right anchor point depends on your bow type, shooting style, and individual anatomy.

An anchor point is a specific location on your face where your drawing hand, string, or release aid makes consistent contact at full draw. This reference position acts as a physical stop that ensures you draw the bow to the same length every time, which directly affects arrow trajectory and impact point.
The anchor point serves three critical functions in archery. First, it establishes a repeatable draw length, which determines the energy transferred to the arrow and affects arrow speed and drop. Second, it creates a consistent sight picture by positioning your eye at the same distance from the arrow and sight every shot. Third, it provides tactile feedback that confirms you’ve reached full draw before release.
Without a consistent anchor point, archers experience:
The anchor point differs from simply drawing the bow back. Many beginners pull to approximately the same position, but true anchoring requires deliberate facial contact at one or more specific points that can be felt and repeated identically.
Finding your anchor point requires systematic testing of different facial contact positions while evaluating comfort, repeatability, and alignment with your shooting style. Start by drawing your bow without an arrow (or with a target in front of you) and bringing your hand to different positions on your face, noting which feels most natural and stable.
Step-by-step process to find your anchor point:
Choose the anchor point where you can maintain a natural head position without tilting or straining, where you can feel clear tactile contact, and where your eye aligns comfortably with your aiming reference. If you’re shooting with a sight, your anchor should position your eye at the correct peep sight height (for compound) or allow consistent gap estimation (for recurve).
Common mistake: Choosing an anchor point that requires tilting your head backward or forward to see the target. Your head should remain in a neutral, upright position with only your eyes moving to focus on the target.
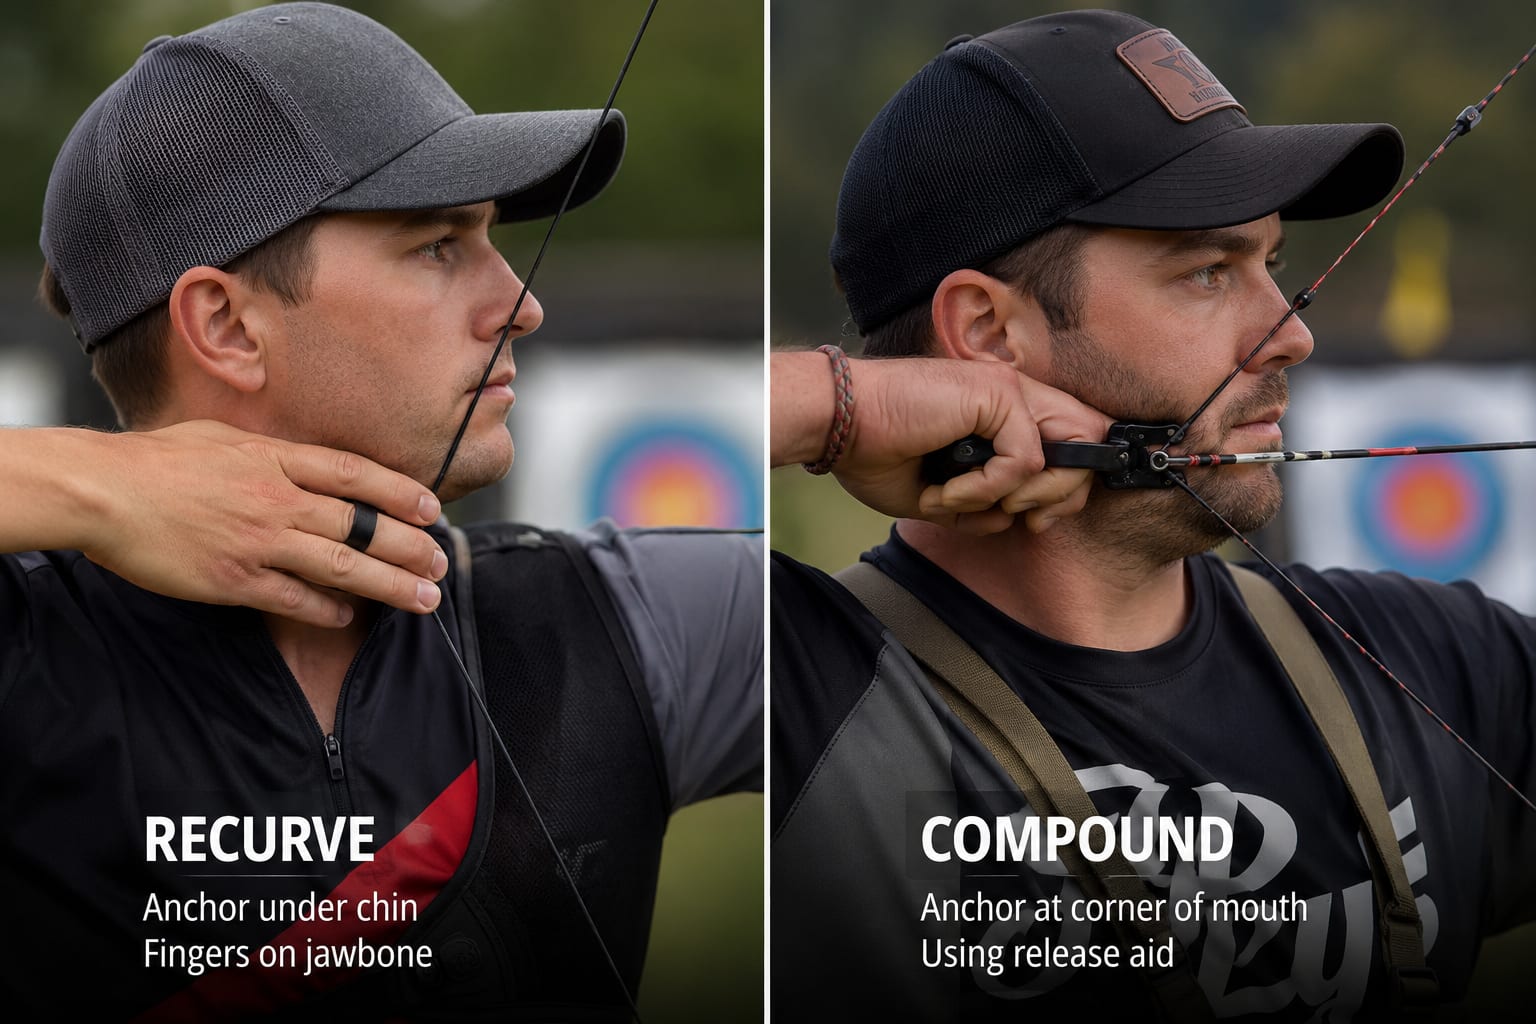
Anchor points differ significantly between compound and recurve bows due to differences in draw length mechanics, release methods, and typical shooting styles. Compound archers typically anchor at the corner of the mouth with a release aid, while recurve archers commonly anchor under the chin with fingers on the string.
Compound bow anchor points:
Recurve bow anchor points:
The mechanical differences matter because compound bows have a defined wall at full draw that stops the draw at a set length, while recurve bows require the archer to judge when full draw is reached. This makes anchor point consistency even more critical for recurve shooters, who lack the mechanical stop of a compound’s back wall.
Choose compound-style anchoring if: You shoot with a release aid, use a peep sight, and want maximum precision for longer-range shooting.
Choose recurve-style anchoring if: You shoot with fingers on the string, prefer traditional or Olympic recurve equipment, or need flexibility for gap shooting or string walking.
A kisser button is a supplementary anchor point device, not a replacement for proper hand-to-face contact, and works best when combined with a primary anchor position. The kisser button is a small plastic or rubber disc attached to the bowstring that touches your lips at full draw, providing an additional tactile reference point.
Kisser button advantages:
Kisser button disadvantages:
The best approach combines a primary anchor point (such as corner of mouth or under chin) with a kisser button as a secondary confirmation. This redundancy catches errors before release and builds confidence in your anchor consistency.
Use a kisser button if: You’re a beginner struggling with consistency, you shoot compound with a release aid, or you want maximum precision for competitive shooting.
Skip the kisser button if: You shoot traditional recurve, you prefer minimal equipment, or you’ve already developed reliable anchor point muscle memory.
Anchor point inconsistency typically results from inadequate muscle memory, fatigue, equipment changes, or unconscious compensation for aiming errors. When your anchor point shifts between shots, you’re likely experiencing one of several common form breakdown patterns.
Primary causes of changing anchor points:
Diagnosis method: Have someone video your shooting from the side, focusing on your anchor position across 10-12 shots. Compare where your hand contacts your face on each shot, looking for patterns in when the anchor shifts (early in the session vs. late, on certain target distances, etc.).
If your anchor point changes primarily when you’re tired, the issue is conditioning. If it shifts when shooting at difficult targets or under pressure, the cause is likely mental. If the change happened suddenly after equipment modifications, return to your previous setup and retest.
The most frequent anchor point errors include choosing a position that requires unnatural head posture, using only a single point of contact, and failing to verify repeatability before committing to a specific anchor location. These mistakes create consistency problems that persist throughout an archer’s development.
Critical anchor point mistakes to avoid:
Edge case: Archers with facial hair, glasses, or facial structure variations may need to modify standard anchor positions. A full beard may require anchoring higher on the face or using bone contact points rather than soft tissue. Glasses wearers should ensure their anchor doesn’t push frames out of position.
Test your chosen anchor point by drawing with your eyes closed, holding for three seconds, then opening your eyes to check if your hand is exactly where you intended. Repeat this 20 times. If you can’t return to the same position at least 18 out of 20 times, your anchor needs refinement.
Shooting without a consistent anchor point produces vertical shot dispersion, unpredictable arrow impact, and an inability to make reliable sight adjustments or form corrections. The consequences affect both accuracy and the archer’s ability to diagnose and fix other shooting problems.
Immediate effects of inconsistent anchoring:
Long-term development problems:
A draw length variation of just one-quarter inch can shift arrow impact by several inches at 20 yards and over a foot at longer distances. For compound shooters using peep sights, even smaller anchor variations misalign the eye with the peep aperture, making aiming impossible.
Real-world example: An archer shooting a 50-pound compound bow who varies anchor point by half an inch will see arrow impact shift by approximately 6-8 inches vertically at 30 yards, enough to miss a deer’s vital zone entirely.
The choice between under-chin and corner-of-mouth anchoring depends primarily on your bow type, shooting style, and whether you use sights or shoot instinctively. Both positions work effectively when executed consistently, but each suits different archery disciplines and equipment setups.
Under-chin anchor characteristics:
Corner-of-mouth anchor characteristics:
Decision criteria:
Some archers successfully use hybrid positions between these two standards, such as anchoring at the corner of the mouth with the chin touching the hand. The key is finding a position with clear, repeatable contact points that works with your equipment and shooting style.
Beginners should establish a basic anchor point from their very first practice session to build correct muscle memory from the start, even if the specific position may be refined later. Starting without an anchor point allows bad habits to form that become progressively harder to correct.
Why immediate anchor point training matters:
Beginner anchor point approach:
Common concern: Some instructors delay anchor point training until after students develop basic draw mechanics. This approach risks allowing inconsistent draw length to become habitual. A better method teaches draw and anchor as a single integrated movement from the beginning.
Beginners should expect their anchor point to feel awkward initially and may need to adjust the specific position as they develop strength and flexibility. However, the concept of anchoring consistently should be non-negotiable from day one.
Choose a simple anchor if: You’re in your first month of archery and still building basic strength and coordination.
Progress to refined anchoring when: You can comfortably draw and hold your bow for 5-10 seconds and are ready to focus on precision.
Fixing anchor point inconsistency requires deliberate practice with feedback mechanisms that make variations immediately obvious, combined with exercises that build the muscle memory for correct positioning. The correction process typically takes 2-4 weeks of focused practice for most archers.
Systematic correction method:
Training drill for consistency:
Practice the “anchor hold” exercise: Draw to your anchor point, hold for 10 seconds while focusing on the feeling of each contact point, then let down without releasing. Complete 10 repetitions, rest for 2 minutes, then repeat for 3 sets. This builds the neural pathways for correct positioning without the distraction of aiming and releasing.
Troubleshooting specific problems:
Track your progress by measuring group size at a fixed distance. As anchor consistency improves, vertical dispersion should decrease noticeably within 2-3 weeks even if horizontal accuracy remains unchanged.
Instinctive shooting still requires a consistent anchor point to maintain repeatable arrow trajectory, though instinctive archers may use different anchor positions than gap or sight shooters. The misconception that instinctive shooting means “no anchor” confuses shooting style with fundamental form requirements.
Why instinctive shooters need anchoring:
Instinctive anchor point differences:
Instinctive shooters often use higher anchor points (at the cheekbone or corner of the eye) or lower anchors (corner of the mouth) compared to gap shooters. Some traditional archers use a “floating anchor” that varies slightly with target distance, but even this approach requires consistency at each specific distance.
Historical context: Traditional archers throughout history used consistent anchor points, visible in historical artwork and documented in archery manuals dating back centuries. The idea of shooting without anchoring is a modern misconception, not a traditional practice.
Choose instinctive shooting with consistent anchoring if: You prefer traditional equipment, hunt in situations requiring fast target acquisition, or enjoy the challenge of subconscious aiming.
Avoid “no anchor” shooting entirely – This approach produces inconsistent results and prevents skill development regardless of shooting style.
Archers with unique facial structures, dental work, facial hair, or other anatomical variations can find comfortable anchor points by testing alternative contact locations and using bone-based rather than soft-tissue references. Discomfort indicates a poor anchor choice, not an inability to anchor properly.
Adaptations for different facial features:
Testing alternative anchors:
If standard anchor positions cause discomfort, systematically test these alternatives:
Important principle: Comfort and repeatability both matter. An uncomfortable anchor you can repeat precisely beats a comfortable position you can’t consistently find. However, with creativity, you can usually find an anchor that provides both.
When to seek coaching: If you’ve tested multiple anchor positions and none feel repeatable or comfortable, work with an experienced coach who can observe your form and suggest customized solutions. Face shape rarely prevents proper anchoring; the issue is usually finding the right position for your specific anatomy.
Developing anchor point consistency requires specific drills that isolate the anchoring movement, provide immediate feedback, and build muscle memory through high-quality repetitions. These exercises should be practiced regularly, especially during the first 3-6 months of archery development.
Essential anchor point drills:
1. Blind Draw and Hold
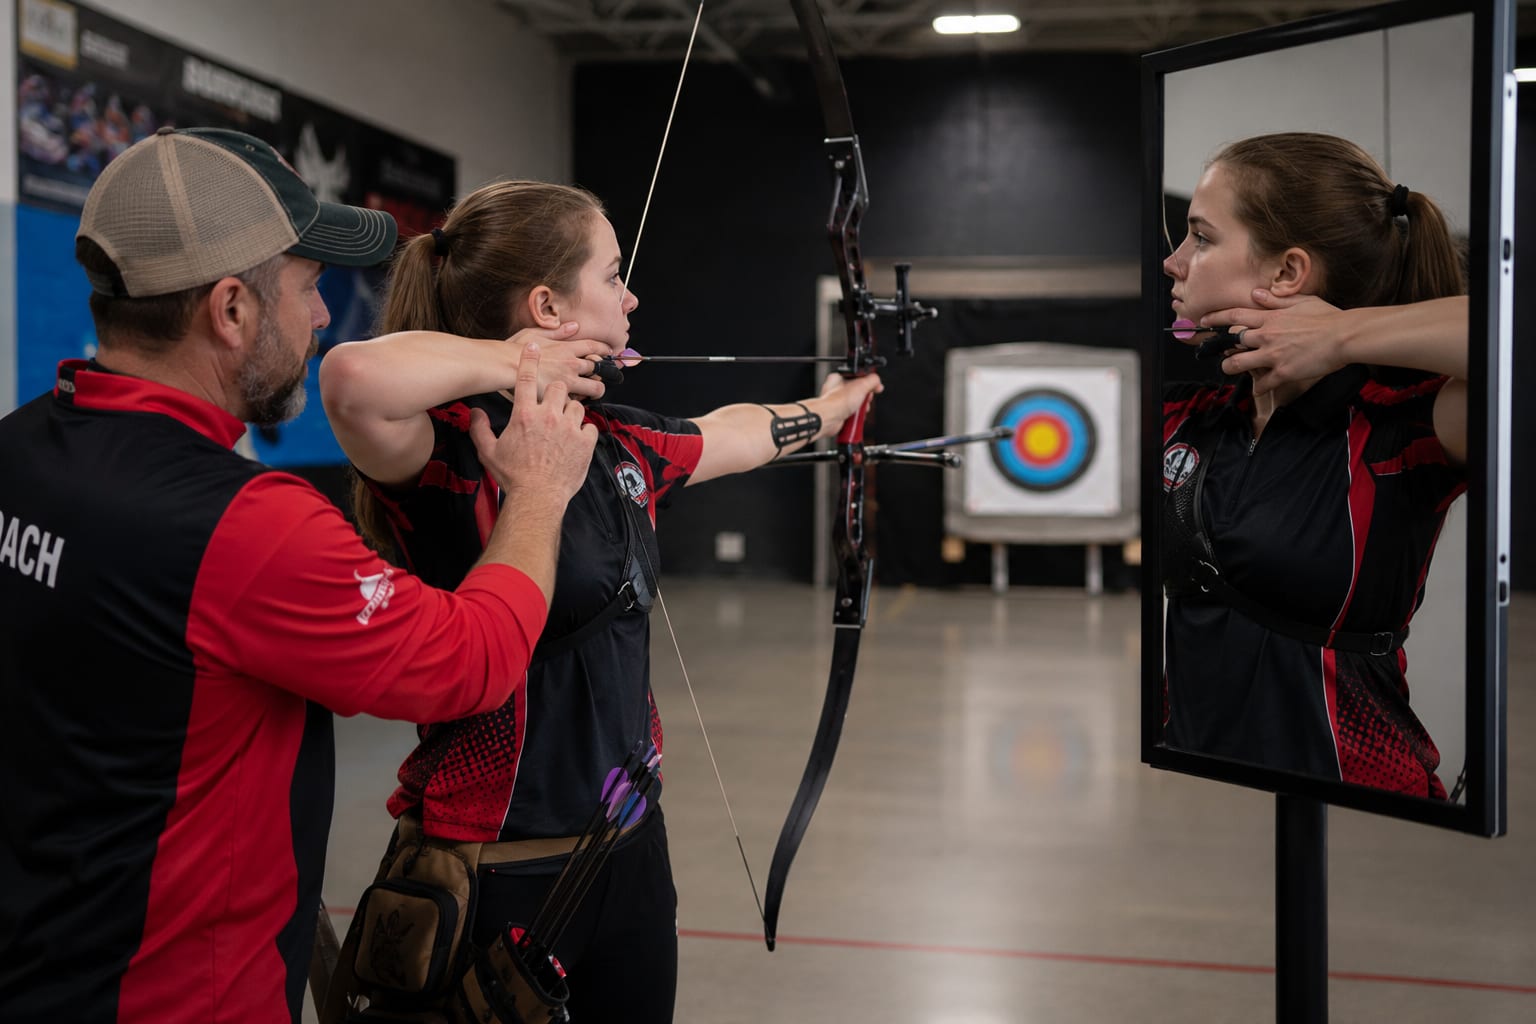
2. Mirror Drawing
3. Anchor-Hold-Release
4. Rapid Anchor Repetition
5. Pressure Variation Drill
6. Distraction Anchoring
Progressive training schedule:
Measurement and tracking:
Test your anchor consistency weekly by shooting 12 arrows at 15 yards, measuring only the vertical spread of your group (ignore horizontal dispersion). As anchor consistency improves, vertical spread should decrease. Record the measurement to track progress objectively.
Common training mistake: Practicing anchor point only while shooting full shots. Dedicated anchor drills without releasing allow more repetitions and better focus on the specific skill you’re developing.
How long does it take to develop a consistent anchor point?
Most archers develop basic anchor point consistency within 2-4 weeks of focused practice, completing 50-100 properly anchored draws per session. Full automaticity where anchoring becomes completely subconscious typically requires 2-3 months and several thousand repetitions. Beginners should expect noticeable improvement in shot grouping within the first week of consistent anchoring practice.
Can I change my anchor point after years of shooting?
Yes, but changing an established anchor point requires 4-8 weeks of dedicated retraining and temporarily reduces accuracy as new muscle memory develops. The process involves unlearning the old pattern while building the new one, which is harder than learning correctly from the start. Change your anchor only if the current position causes pain, prevents proper form, or significantly limits your shooting performance.
Should my anchor point touch lightly or with firm pressure?
Your anchor point should make firm, definite contact that you can clearly feel without causing discomfort or distorting your face. Light contact that barely touches the skin is harder to repeat consistently, while excessive pressure that pushes your face or jaw out of alignment creates tension and inconsistency. The optimal pressure is similar to touching your fingertip to your nose to feel where it is without pushing.
Do I need different anchor points for different distances?
Most modern archers use a single anchor point for all distances, adjusting aim rather than anchor position. String walkers (who move their finger position on the string) may use slightly different anchors for extreme distance variations. Changing anchor points by distance adds complexity and increases the chance of error; consistent anchoring with sight or gap adjustment is more reliable for the majority of shooters.
What if my anchor point feels different with winter clothing or face masks?
Bulky clothing, face masks, or cold-weather gear can interfere with anchor point contact, requiring adjustments to maintain consistency. Choose bone-based contact points (jawbone, cheekbone) rather than soft tissue when shooting in conditions that require face coverage. Practice with the same clothing you’ll use in the field so your muscle memory accounts for any differences in feel or restriction.
Is it normal for my anchor point to feel uncomfortable at first?
Yes, a new anchor point typically feels awkward for the first 50-100 repetitions as your face and hand adapt to the contact position. However, sharp pain, jaw strain, or inability to maintain the position comfortably after 2 weeks indicates a poor anchor choice that should be adjusted. Discomfort should gradually decrease as the position becomes familiar, not increase over time.
Can I use my nose as an anchor point?
Your nose works well as a secondary anchor reference (string touching nose tip) but shouldn’t be the only contact point because it’s difficult to judge pressure consistently on the nose alone. Combine nose contact with a primary hand-to-face anchor (corner of mouth, under chin, or jawbone) for maximum consistency. The nose reference is particularly valuable for detecting when you’ve tilted your head.
How do I know if my anchor point is causing my accuracy problems?
Anchor point problems produce characteristic vertical stringing in shot groups, where arrows impact at different heights but similar horizontal positions. Video yourself from the side across 10 shots; if your hand position on your face varies noticeably between shots, anchor inconsistency is likely contributing to accuracy issues. Consistent horizontal but scattered vertical impacts strongly suggest anchor point problems rather than aiming errors.
Should I anchor the same way for 3D archery and target shooting?
Use the same anchor point for all shooting disciplines to maintain consistent muscle memory and avoid confusion. Switching anchor points between shooting styles forces your body to learn multiple patterns and increases the likelihood of using the wrong anchor at the wrong time. The only exception is if you shoot completely different bow types (such as Olympic recurve for target and traditional longbow for 3D) that mechanically require different anchors.
What’s the difference between anchor point and reference point?
An anchor point is the primary facial contact location where your drawing hand stops at full draw, while reference points are additional touch points that confirm correct position (such as string touching nose or kisser button at lips). Your anchor point is the foundation; reference points are supplementary checks. Most accurate shooting systems use one anchor point plus one or two reference points for redundancy.
Can children use the same anchor points as adults?
Children can use the same anchor point concepts as adults (corner of mouth, under chin, jawbone) but may need to adjust the specific position based on their smaller facial structure and shorter draw length. Young archers should establish consistent anchoring from the beginning using whatever position allows comfortable, repeatable contact. As they grow, the anchor position may need periodic adjustment to accommodate changing proportions.
How tight should my anchor point feel?
Your anchor point should feel secure and definite without creating tension in your jaw, neck, or drawing hand. You should be able to hold the anchor position comfortably for 10 seconds without strain or the urge to adjust. If you find yourself frequently shifting your hand position after reaching anchor, the contact is either too light (not providing clear feedback) or too tight (causing discomfort that makes you want to move).
Establishing and maintaining a consistent anchor point stands as one of the most fundamental skills in archery, directly affecting accuracy, repeatability, and your ability to progress as a shooter. Whether you choose an under-chin anchor for recurve shooting or a corner-of-mouth position for compound archery, the key is finding a comfortable position with clear tactile references that you can return to identically on every shot.
The path to anchor point mastery begins with selecting an appropriate position for your bow type and shooting style, then committing to that position through dedicated practice using the drills outlined in this guide. Expect the process to feel awkward initially, but trust that consistent repetition will build the muscle memory that makes proper anchoring automatic within 2-4 weeks.
Take these immediate action steps:
Remember that anchor point consistency affects every other aspect of your shooting. A solid anchor foundation makes sight adjustments meaningful, form corrections effective, and accuracy improvement possible. Invest the time now to develop proper anchoring habits, and you’ll build a skill that serves you throughout your entire archery journey.


