Newsletter Subscribe
Enter your email address below and subscribe to our newsletter
All voices matter
All voices matter
 ByTravis
Archers can estimate distance without a rangefinder using the mil relation formula, body measurements, pace counting, and known object sizes - accurate to within 5-10% with practice.
Affiliate Disclaimer: We are a participant in the Amazon Services LLC Associates Program, an affiliate advertising program designed to provide a means for sites to earn advertising fees by advertising and linking to Amazon.com. As an Amazon Associate I earn from qualifying purchases. We also participate in other affiliate programs.
Quick Answer: Archers can accurately estimate distances without a rangefinder by using the mil relation formula, body measurements (hand and finger angular width), pace counting, known object sizes, and visual reference points. Military-proven methods like the mil-dot technique can achieve accuracy within 5-10% at ranges up to 500 yards when properly calibrated, while simpler methods like using your thumb work reliably for bowhunting distances under 60 yards with practice.
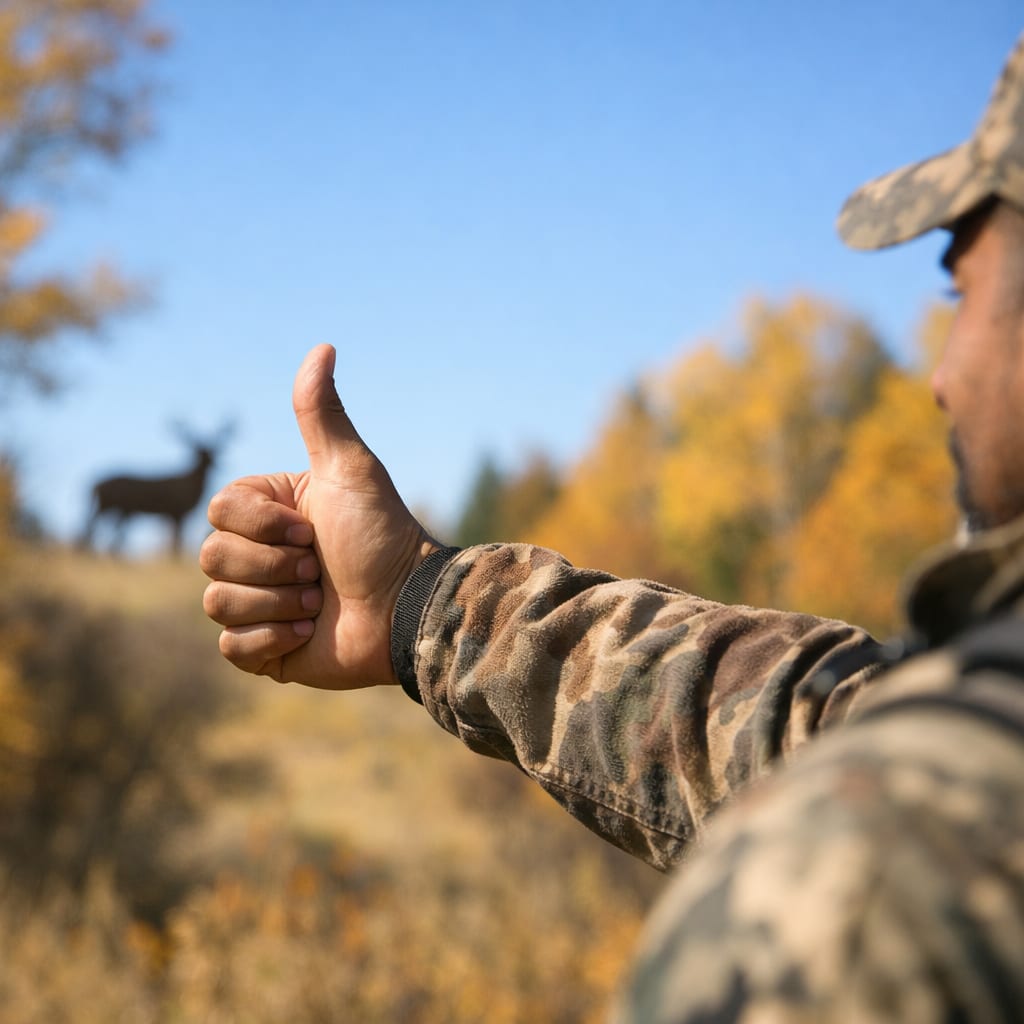
Ranging a distance means determining the exact yardage between your shooting position and your target. For bowhunters and target archers, this measurement directly affects arrow trajectory, pin selection, and ultimately whether your shot hits the intended mark. An arrow traveling at 280 feet per second drops approximately 8 inches between 20 and 30 yards, making accurate distance knowledge critical for ethical hunting and competitive success.
Traditional ranging relies on visual estimation, physical measurement, or optical calculation rather than electronic devices. Before laser rangefinders became standard equipment in the 1990s, hunters and military marksmen developed systematic methods to gauge distance using environmental cues, body measurements, and mathematical formulas. These techniques remain valuable today when batteries fail, electronics malfunction, or competition rules prohibit rangefinders.
Why ranging matters for archery:
The skill of ranging without tools separates experienced archers from beginners. While electronic rangefinders offer convenience, understanding manual ranging methods builds spatial awareness and provides backup options when technology fails in the field.
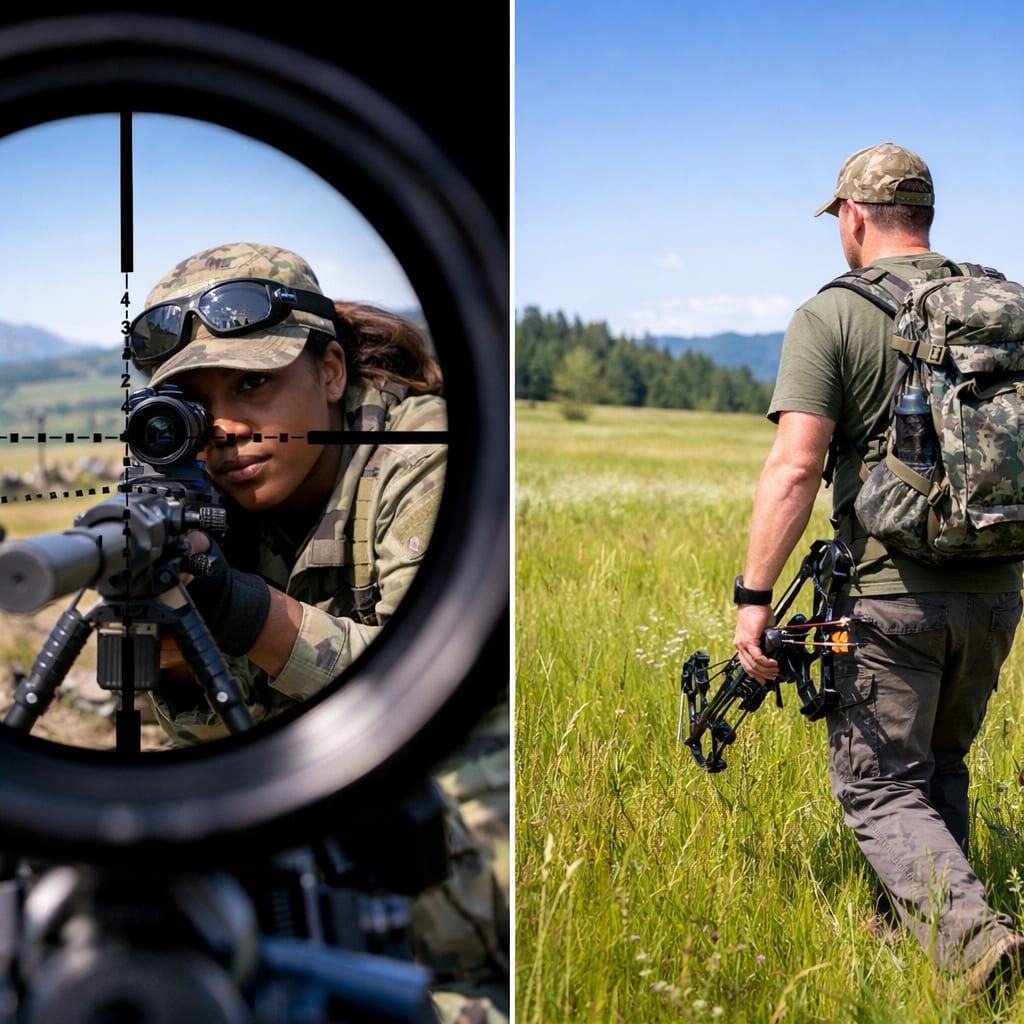
The mil relation formula provides a mathematical approach to distance estimation that military snipers have relied on for decades. This method calculates range by measuring the angular size of a target with known dimensions. The formula is: Distance (yards) = Target Size (yards) × 1000 / Mils.
One mil (milliradian) equals 1 yard at 1,000 yards, or approximately 3.6 inches at 100 yards. If you know a deer’s chest depth is 18 inches (0.5 yards) and it measures 2 mils in your reticle or improvised measuring device, the distance equals 0.5 × 1000 / 2 = 250 yards. This mathematical precision makes the mil method significantly more accurate than pure visual estimation.
Step-by-step mil ranging process:
Common reference sizes for bowhunting:
The mil method’s accuracy depends on knowing precise target dimensions and measuring angular size correctly. Practiced users achieve 5-10% accuracy at ranges beyond 200 yards, far exceeding visual estimation alone. For bowhunters working within 60 yards, this method can reliably distinguish between 30 and 35 yards when calibrated properly.
Common mistake: Confusing target size units. Always convert inches to yards before applying the formula, or use a modified formula for inches: Distance (yards) = Target Size (inches) × 27.78 / Mils.
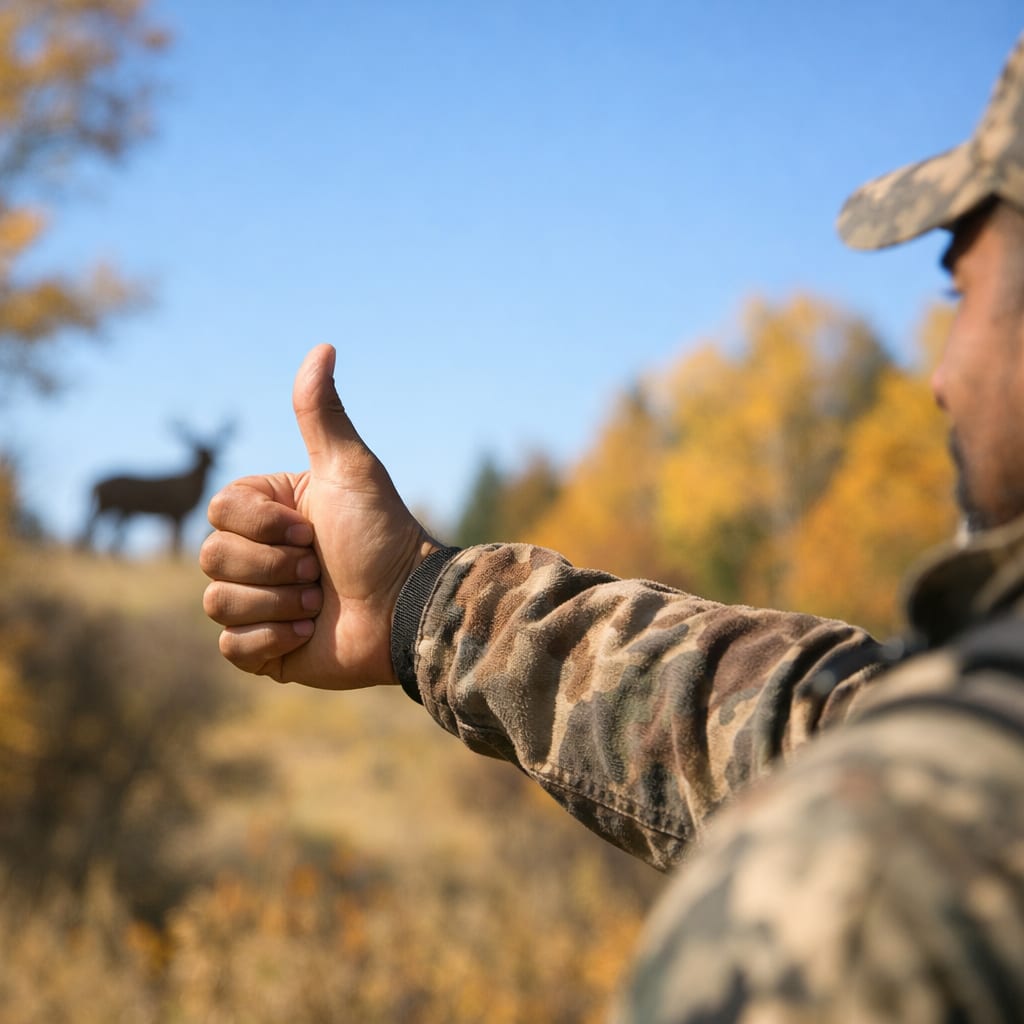
Using your hand and fingers to estimate distance can achieve 10-15% accuracy at bowhunting ranges (20-60 yards) after calibration and practice. Your hand at arm’s length covers approximately 10 degrees of arc, your fist covers about 8 degrees, and your thumb width covers roughly 2 degrees. These consistent angular measurements translate to predictable linear distances when you know the target’s actual size.
The technique works because your arm length and hand size maintain a fixed ratio. For most adults, a thumb at arm’s length covers approximately 2 inches at 10 yards, 4 inches at 20 yards, 6 inches at 30 yards, and 8 inches at 40 yards. By counting how many thumb-widths fit across a known object (like a deer’s body), you can calculate distance through simple multiplication.
Calibrating your hand measurements:
Finger and hand angular measurements (average adult):
Accuracy degrades beyond 60 yards because small angular measurement errors translate to large distance errors. A 0.5-degree mistake at 30 yards equals 3 inches, but the same error at 100 yards equals 10 inches. For typical bowhunting scenarios under 50 yards, hand measurements provide sufficient accuracy when you’ve practiced the technique and understand your personal calibration.
Edge case: Hand size varies significantly between individuals. A person with large hands (9+ inch span) will have different angular measurements than someone with small hands (7-inch span). Always calibrate your personal measurements rather than using generic tables.
Pace counting delivers superior accuracy for ground-level ranging, typically achieving 95-98% precision over distances up to 500 yards, while the mil-dot method excels at long-range estimation from fixed positions where walking to the target isn’t practical. The best choice depends on your scenario: use pace counting when you can walk the distance before your shot, and use mil-dot calculations when ranging distant targets from an elevated stand or across impassable terrain.
Pace counting involves walking a measured 100-yard course repeatedly until you know your personal pace count (typically 60-70 paces for most adults). Once calibrated, you can estimate any distance by walking it and counting steps. This physical measurement eliminates the estimation errors inherent in optical methods and works regardless of lighting conditions or target size uncertainty.
Pace counting advantages:
Pace counting limitations:
The mil-dot method shines when you need instant ranging from a fixed position. A bowhunter in a tree stand can quickly measure a deer at 40 yards using mil calculations without alerting the animal by moving. However, mil-dot accuracy depends on knowing target dimensions precisely and measuring angular size correctly, introducing 10-15% potential error even with practice.
Choose pace counting when:
Choose mil-dot method when:
Many experienced archers combine both methods: pace count key distances in your hunting area during scouting (marking mental reference points at 20, 30, and 40 yards), then use mil-dot calculations to estimate animal positions relative to those known landmarks. This hybrid approach delivers both speed and accuracy.

Yes, trained individuals can estimate distances within 10-20% accuracy using only visual cues, environmental references, and practiced judgment, though this requires significant field experience and regular calibration. Pure visual estimation relies on recognizing how objects appear at known distances, understanding atmospheric effects on clarity, and using terrain features as reference points.
The human eye excels at relative distance judgment (this tree is twice as far as that rock) but struggles with absolute measurements. Visual estimation accuracy peaks at 20-30 yards, where most people can distinguish 5-yard increments reliably after practice. Beyond 40 yards, accuracy degrades rapidly without reference points, with untrained individuals often misjudging 60-yard distances by 20-30 yards.
Visual cues that indicate distance:
Building visual estimation skills:
Most bowhunters develop unconscious distance judgment through repetition. After hundreds of shots at known distances, your brain builds a reference library of how targets appear at 20, 30, 40, and 50 yards. This experiential knowledge allows quick estimates without conscious calculation, though accuracy still trails tool-based methods by 5-10%.
Common mistake: Overestimating distances in open terrain and underestimating in wooded areas. Open fields lack intermediate reference points, making targets appear closer than actual distance. Dense woods provide multiple reference points, making targets appear farther away.
For bowhunting, pure visual estimation works adequately under 30 yards where arrow drop remains minimal. Beyond 30 yards, combine visual judgment with at least one verification method (pace counting, known reference points, or body measurements) to ensure ethical shot placement. Remember that proper shot placement depends on accurate ranging.
Known object sizes provide reliable reference points for distance calculation when you can’t physically measure the range. This method works by comparing the apparent size of a familiar object to its known actual dimensions, then using simple ratios or the mil relation formula to calculate distance. A standard fence post (4 feet tall) that appears to match your thumb height at arm’s length sits at approximately 40 yards.
The technique requires memorizing common object dimensions and understanding angular size relationships. When you know a whitetail deer’s chest depth measures 18 inches and you can estimate how many thumb-widths cover that distance, you can calculate range through proportion. This approach combines the reliability of known measurements with the convenience of visual estimation.
Common reference objects and dimensions:
Calculation method using proportions:
Practical example: You see a deer at unknown distance. Its 18-inch chest depth appears to cover 3 thumb-widths at arm’s length. Calculation: (18 × 30) / (3 × 2) = 540 / 6 = 90 yards. This exceeds ethical bowhunting range, so you don’t take the shot.
The method’s accuracy depends on knowing precise object dimensions and measuring apparent size consistently. Regional variations affect reference sizes (mule deer are larger than whitetail, western fence posts may differ from eastern standards), so calibrate your reference library to your specific hunting area.
Advanced technique: Create mental “size templates” at known distances. During practice or scouting, observe how an 18-inch target appears at 20, 30, 40, and 50 yards. When hunting, compare the deer’s apparent size to these memorized templates for instant distance estimation without calculation.
This method works best when combined with other techniques. Use known object sizes for initial estimates, then verify with pace counting or visual reference points before taking a shot. The redundancy catches errors and builds confidence in your distance judgment.
The most frequent error in visual distance estimation is failing to account for terrain slope, which causes archers to consistently overestimate uphill distances and underestimate downhill distances by 15-25%. Your brain judges distance based on the horizontal ground plane, but sloped terrain compresses or expands visual cues, creating systematic bias. A 40-yard shot at a 30-degree uphill angle appears closer to 50 yards, leading to aiming errors.
Lighting conditions create the second most common mistake. Bright, clear conditions make targets appear closer than actual distance because enhanced detail visibility tricks your depth perception. Conversely, low light, fog, or rain reduces detail clarity, making targets appear farther away. These atmospheric effects can cause 10-20 yard estimation errors at distances beyond 40 yards.
Critical distance estimation mistakes:
Environmental factors that distort perception:
Many archers develop consistent directional bias, always overestimating or underestimating by a predictable percentage. Track your estimates versus actual distances over 50-100 practice sessions to identify personal bias patterns. If you consistently estimate 35 yards when the actual distance is 40 yards, apply a correction factor (multiply estimates by 1.14) to compensate.
Verification protocol to avoid mistakes:
The biggest mistake is overconfidence in visual estimation alone. Even experienced archers benefit from verification methods, especially in unfamiliar terrain or unusual lighting conditions. When hunting, the ethical responsibility to make clean kills demands using every available ranging technique to ensure accuracy. Consider how your shooting stance and form also affect accuracy at various distances.
Manual ranging methods become increasingly unreliable beyond 60 yards, with error rates exceeding 20% for most archers, making electronic rangefinders essential for ethical long-range shots. While military snipers use mil-dot calculations effectively at 500+ yards, they work with high-magnification optics, extensive training, and target sizes measured in feet rather than inches. Bowhunters face much tighter accuracy requirements because arrow drop accelerates dramatically beyond 50 yards.
At 60 yards, a 5-yard ranging error causes approximately 8-12 inches of vertical impact shift, enough to turn a lethal hit into a wounded animal. The ethical imperative in hunting demands certainty, not approximation. Manual ranging methods work adequately for practice and target archery where misses have no consequences, but hunting situations require the precision that only electronic rangefinders or pre-measured shooting lanes provide.
Accuracy comparison by distance:
| Distance | Visual Estimation Error | Hand Measurement Error | Mil-Dot Method Error | Rangefinder Error |
|---|---|---|---|---|
| 20 yards | ±2 yards (10%) | ±1 yard (5%) | ±1 yard (5%) | ±0.5 yard (2.5%) |
| 40 yards | ±6 yards (15%) | ±4 yards (10%) | ±3 yards (7.5%) | ±0.5 yard (1.25%) |
| 60 yards | ±12 yards (20%) | ±8 yards (13%) | ±5 yards (8%) | ±1 yard (1.7%) |
| 80 yards | ±20 yards (25%) | ±15 yards (19%) | ±8 yards (10%) | ±1 yard (1.25%) |
When manual ranging is sufficient:
When electronic ranging is mandatory:
The responsible approach combines both methods: use manual ranging skills to pre-scout your hunting area, marking key distances with natural reference points (that distinctive tree is 30 yards, the fallen log is 45 yards). Then use an electronic rangefinder to verify distances when game appears. If your rangefinder fails, you have calibrated reference points as backup.
For bowhunting beginners, master manual ranging at close distances (20-30 yards) before attempting longer shots. Build skills progressively, and always prioritize ethical shot placement over challenging yourself with marginal distances. A passed shot is always better than a wounded animal.
Military snipers use a combination of the mil-dot reticle system, range cards, terrain association, and the 100-meter unit-of-measure method to achieve 5-10% accuracy at ranges exceeding 800 meters without electronic devices. Their training emphasizes systematic observation, mathematical calculation, and verification through multiple independent methods before engaging targets.
The primary sniper ranging technique uses mil-dot reticles etched into rifle scopes. These reticles contain precisely spaced dots or hash marks representing one milliradian of angle. By measuring a target of known height in mils and applying the mil relation formula, snipers calculate exact distances. A 6-foot-tall human (2 yards) measuring 4 mils in the reticle sits at 500 yards (2 × 1000 / 4 = 500).
Military ranging techniques:
Range card development process:
Snipers spend weeks developing range estimation skills through repetitive practice with immediate feedback. They estimate a distance, verify with a rangefinder or known measurement, analyze their error, and adjust their mental calibration. This deliberate practice builds unconscious competence that allows rapid, accurate estimates under stress.
The military approach differs from bowhunting in scale and equipment. Snipers work at 300-1000 meters with magnified optics and targets measured in feet. Bowhunters work at 20-60 yards with lower magnification and targets measured in inches. However, the principles transfer: use multiple methods, verify estimates, know your equipment’s capabilities, and practice systematically.
Adapted sniper techniques for bowhunters:
The military emphasis on redundancy and verification applies directly to ethical hunting. Never rely on a single ranging method for a shot beyond 30 yards. Use visual estimation, verify with hand measurements or known object sizes, and cross-check against pre-measured reference points. This systematic approach minimizes errors and ensures clean, ethical kills.
Body measurement techniques (thumb, fist, hand span) provide reliable accuracy up to 50 yards for bowhunting applications, with error rates of 5-10% after proper calibration and practice. Beyond 60 yards, small angular measurement errors compound into large distance errors, reducing accuracy to 15-20% even for experienced users. The method’s effectiveness depends entirely on personal calibration and consistent measurement technique.
Your body provides a portable, always-available measuring tool with fixed angular dimensions. The key is understanding that these measurements work through angular geometry: your thumb covers a consistent angle (approximately 2 degrees) regardless of distance, but that angle translates to different linear measurements at different ranges. At 20 yards, 2 degrees equals 8 inches; at 40 yards, it equals 16 inches.
Calibration process for body measurements:
Average adult body measurements (angular):
Practical ranging with body measurements:
To estimate distance to a deer, identify a known dimension (18-inch chest depth). Extend your arm and count thumb-widths covering that dimension. If the chest depth covers 2 thumb-widths, and you know your thumb covers 4 inches per thumb-width at 20 yards, the deer is at a distance where 2 thumbs = 18 inches. Solve: 18 inches / 2 thumbs = 9 inches per thumb. Since your thumb covers 4 inches at 20 yards and 9 inches at 45 yards, the deer is approximately 45 yards away.
Simplified field formula: Distance (yards) = (Known Size in inches × 20) / (Thumb-widths × Your Thumb Coverage at 20 yards)
The method’s accuracy depends on three factors: knowing target dimensions precisely, measuring thumb-widths consistently, and maintaining proper technique (fully extended arm, same eye closed, same thumb position). Variations in any factor introduce errors that compound with distance.
Limitations and error sources:
Body measurements work best as verification tools rather than primary ranging methods. Make a visual estimate, verify with thumb measurements, and cross-check against known reference points before taking a shot. This redundancy catches errors and builds confidence. For more on building consistent shooting form that complements accurate ranging, review techniques for drawing a bow smoothly.
Mils (milliradians) and MOA (minutes of angle) are both angular measurement systems used for ranging, but mils use metric-friendly base-10 math (1 mil = 1 yard at 1,000 yards) while MOA uses base-60 math (1 MOA = 1.047 inches at 100 yards), making mils significantly easier for field calculations. For ranging purposes, the mil system’s decimal simplicity allows faster mental math and more intuitive distance estimation.
One milliradian equals 1/1000th of a radian, creating a convenient relationship where the target size in yards multiplied by 1000 and divided by mils equals distance in yards. One minute of angle equals 1/60th of a degree, creating a less intuitive relationship where calculations require converting between inches and yards while accounting for the 1.047-inch factor.
Comparison of ranging formulas:
Practical differences for archers:
| Feature | Mil System | MOA System |
|---|---|---|
| Mental math difficulty | Easy (base-10) | Moderate (base-60) |
| Reticle subtension at 100 yards | 3.6 inches | 1.047 inches |
| Common in archery optics | Rare | Rare (most use neither) |
| Military/tactical standard | Primary (NATO) | Secondary (U.S. legacy) |
| Precision at close range | Lower (coarser graduations) | Higher (finer graduations) |
For bowhunting distances (20-60 yards), the difference between mil and MOA systems matters less than understanding whichever system your optic uses. Most archery sights don’t incorporate mil or MOA reticles, making these systems more relevant for rifle hunters or archers using magnified optics for long-range target shooting.
When to use each system:
Most bowhunters benefit more from mastering simpler ranging methods (hand measurements, known object sizes, pace counting) than learning mil or MOA systems. These angular measurement systems shine at rifle distances (300+ yards) where their precision matters. At archery distances, the 5-10% accuracy of basic methods suffices for ethical shots.
Practical tip: If you own binoculars or a spotting scope with mil-dot reticles, learn the mil system for glassing game at distance before they enter bow range. This advance ranging helps you prepare for the shot and select appropriate shooting lanes.
Consistent distance estimation errors typically stem from uncalibrated personal bias, failure to account for environmental factors, or insufficient practice with immediate feedback. Most archers develop systematic directional bias (always overestimating or underestimating) rather than random errors, meaning the problem is correctable through deliberate practice and bias identification.
The most common cause of persistent estimation errors is practicing without verification. If you estimate distances during practice but never check actual measurements, you reinforce inaccurate mental models. Your brain learns the wrong visual cues, and the error becomes habitual. Breaking this cycle requires systematic practice with immediate feedback: estimate, measure, analyze the error, adjust your mental calibration, and repeat.
Primary causes of consistent estimation errors:
Diagnostic protocol to identify your error pattern:
Environmental factors causing systematic errors:
Many archers discover their estimation accuracy varies by distance range. You might be accurate at 20-30 yards (where you practice most) but consistently off at 40-50 yards (where you practice less). The solution is deliberate practice across your entire effective range, with emphasis on distances where you’re least accurate.
Corrective practice routine:
The key to improvement is closing the feedback loop. Every estimate must be verified, every error analyzed, and every pattern corrected through adjusted mental calibration. After 100-200 verified estimates, most archers reduce their error rate by 50% or more. Combine this practice with proper archery practice frequency for best results.
Ethical bowhunters should use rangefinders for any shot beyond 30 yards, while natural ranging methods provide adequate accuracy for closer shots and serve as essential backup skills when electronics fail. The question isn’t whether natural methods work, but whether they work well enough to ensure clean, ethical kills given the consequences of misjudgment. A wounded animal suffering from a ranging error is an unacceptable outcome when technology can prevent it.
Natural ranging methods excel in specific scenarios: pre-scouting your hunting area to mark reference distances, developing spatial awareness that improves overall hunting skills, and providing backup capability when rangefinder batteries die. Many successful bowhunters combine both approaches, using natural methods to pre-measure shooting lanes during setup, then verifying with a rangefinder when game appears.
When natural methods are sufficient:
When rangefinders are mandatory:
Hybrid approach for ethical hunting:
The rangefinder vs. natural methods debate misses the point. Skilled hunters use every available tool to ensure ethical kills. Natural ranging methods aren’t inferior; they’re foundational skills that make you a better hunter even when using electronics. Understanding distance through multiple methods builds confidence and competence that technology alone cannot provide.
Cost-benefit analysis:
For beginners, start with a rangefinder and simultaneously develop natural ranging skills. Use the rangefinder to verify your visual estimates during every practice session. Over time, your natural estimation improves, and the rangefinder becomes a verification tool rather than a crutch. This progression builds both technological competence and traditional fieldcraft.
How accurate can you get at estimating distance without tools?
With systematic practice and calibration, most archers achieve 10-15% accuracy at distances under 50 yards using body measurements and visual cues. This translates to ±5 yards at 50 yards or ±3 yards at 30 yards. Accuracy degrades significantly beyond 60 yards, where errors often exceed 20% even for experienced estimators.
What is the fastest way to learn distance estimation for bowhunting?
Practice daily with immediate verification for 15-20 minutes over 4-6 weeks. Estimate distances to various objects, verify with a rangefinder or pace counting, record your errors, and adjust your mental calibration. Focus on the specific distance range you’ll hunt (typically 20-40 yards) and practice in terrain similar to your hunting area.
Can you use smartphone apps to measure distance without a rangefinder?
Some smartphone apps use camera-based trigonometry to estimate distances, but they require knowing target height and holding the phone at precise angles, making them impractical for hunting. They’re useful for practice verification but don’t replace dedicated rangefinders or manual ranging skills in field conditions.
How do terrain and weather affect distance estimation accuracy?
Uphill shots appear 20-30% farther than actual distance, while downhill shots appear 15-20% closer. Clear, dry air makes targets appear 10-15% closer than actual distance, while hazy or humid conditions make them appear 10-20% farther. Shooting into the sun reduces detail visibility, causing 15-25% overestimation.
What’s the most reliable non-electronic ranging method for bowhunters?
Pace counting delivers the highest accuracy (95-98%) but requires walking the distance before shooting. For instant ranging from a fixed position, the mil relation formula using known object sizes provides 5-10% accuracy when properly applied. Combining multiple methods (visual estimate verified by hand measurements) improves reliability significantly.
How far can military snipers accurately estimate range without electronics?
Trained military snipers using mil-dot reticles and systematic ranging techniques achieve 5-10% accuracy at ranges up to 800 meters (875 yards). However, they use high-magnification optics, extensive training, and targets measured in feet rather than inches. These skills don’t directly transfer to bowhunting’s shorter ranges and smaller targets.
Do I need different ranging techniques for tree stand vs ground hunting?
Yes. Tree stand hunting requires instant ranging methods (mil-dot, hand measurements, known object sizes) since you can’t walk to the target. Ground hunting allows pace counting during pre-hunt scouting to measure exact distances to shooting lanes. Both scenarios benefit from pre-measured reference points established during setup.
How long does it take to get good at ranging without a rangefinder?
Most archers achieve functional competence (15% accuracy) after 20-30 hours of deliberate practice with immediate feedback over 4-6 weeks. Reaching advanced skill (10% accuracy) requires 50-100 hours of practice across varied conditions. Maintaining accuracy requires regular practice, as the skill degrades without use.
What’s the biggest mistake beginners make when learning to estimate distance?
Practicing without verification is the most common and damaging mistake. Estimating distances repeatedly without checking actual measurements reinforces inaccurate mental models and builds false confidence. Always verify estimates immediately during practice to close the feedback loop and enable learning.
Can you range distance accurately in low light conditions?
Low light significantly degrades visual estimation accuracy, often causing 20-30% errors at distances beyond 30 yards. Hand measurements and known object sizes work better than pure visual estimation in low light, but electronic rangefinders remain the most reliable option for dawn and dusk hunting when lighting is poor.
How do you adjust distance estimates for uphill and downhill shots?
For angled shots, estimate the horizontal distance rather than the line-of-sight distance. A 40-yard line-of-sight shot at a 30-degree angle has a horizontal distance of approximately 35 yards. Use the formula: Horizontal Distance = Line-of-Sight Distance × Cosine(Angle). Most modern rangefinders calculate this automatically.
What body measurement works best for ranging at archery distances?
Thumb width at arm’s length provides the best balance of precision and ease of use for bowhunting distances (20-60 yards). It covers approximately 2 degrees of arc, translating to predictable linear measurements that scale consistently with distance. Calibrate your personal thumb coverage at known distances for maximum accuracy.
Mastering how to range distances without a rangefinder transforms you from a technology-dependent archer into a versatile hunter with deep fieldcraft skills. The techniques covered in this guide, mil relation formulas, body measurements, pace counting, known object sizes, and visual estimation, provide multiple pathways to accurate ranging that work when electronics fail or aren’t available.
Start by calibrating your personal body measurements at known distances, spending 15-20 minutes daily for a month estimating and verifying ranges. Create range cards for your hunting areas during pre-season scouting, marking exact distances to prominent features using pace counting. Practice the mil relation formula with common reference objects until the calculations become automatic.
Remember that natural ranging methods aren’t replacements for rangefinders in ethical hunting scenarios beyond 30 yards; they’re complementary skills that make you a more complete archer. Use electronic rangefinders for precision when it matters most, but develop manual ranging competence as backup and for building spatial awareness that improves every aspect of your hunting.
The path forward is clear: practice systematically with immediate feedback, track your errors to identify bias patterns, and apply correction factors to improve accuracy. Combine multiple ranging methods for redundancy, especially on shots beyond 35 yards where ranging errors have serious consequences. Whether you’re setting up a backyard practice range or preparing for bow season, these skills will serve you throughout your archery journey.