Newsletter Subscribe
Enter your email address below and subscribe to our newsletter
All voices matter
All voices matter
 ByTravis
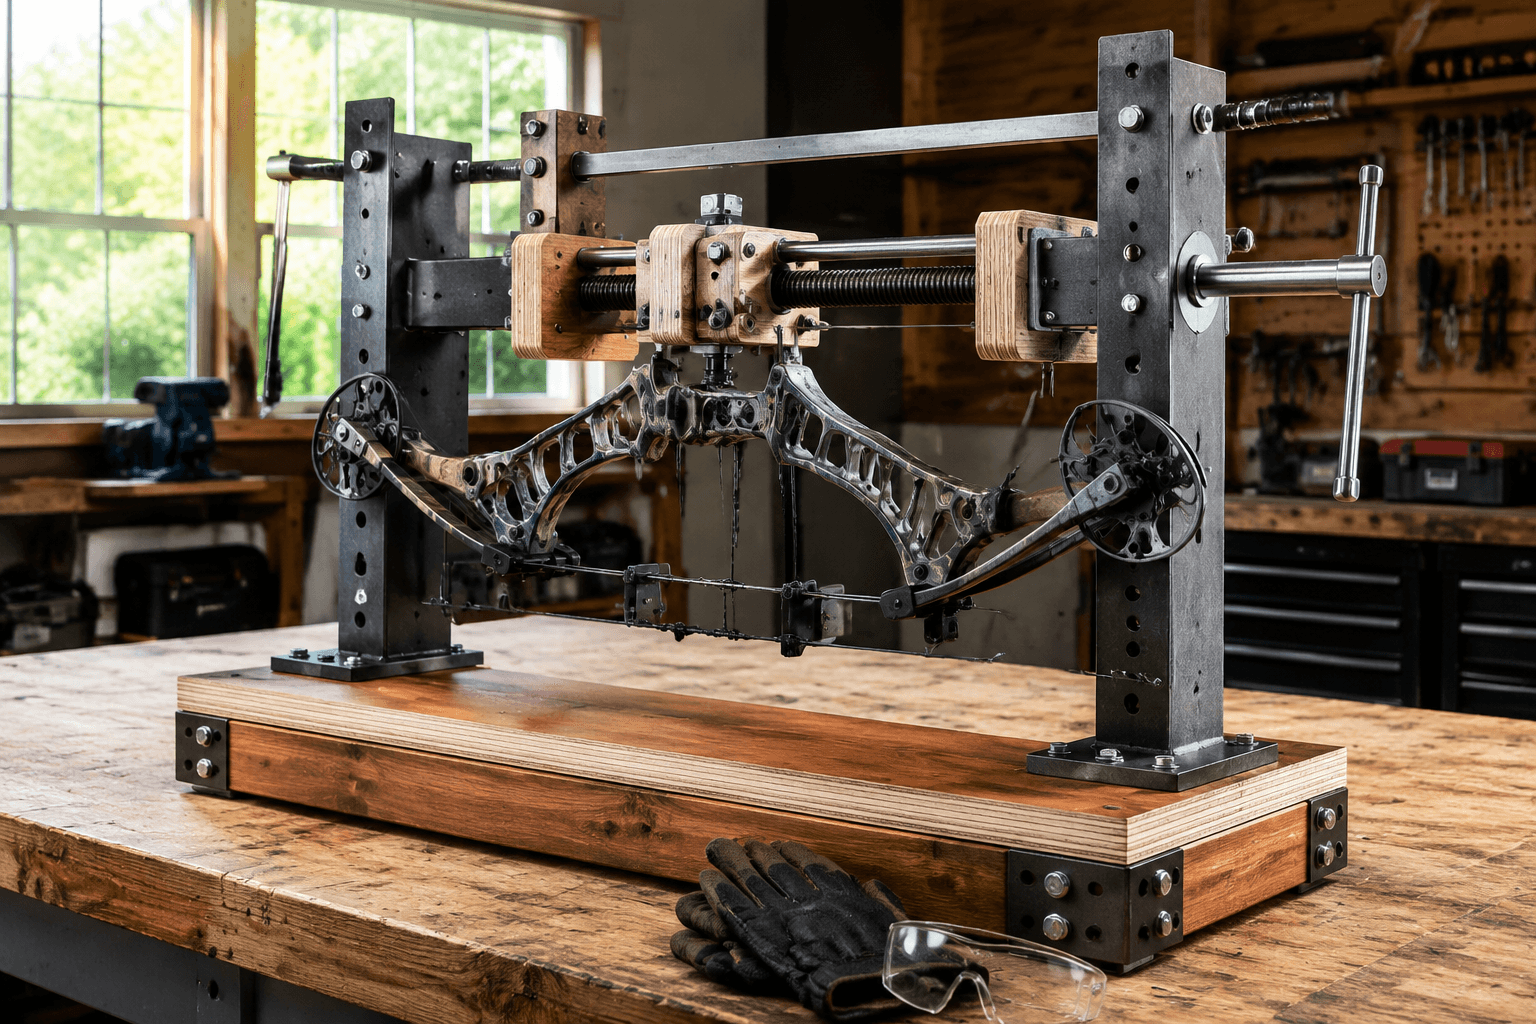
A DIY bow press can save money, but it's only safe when built from welded steel tubing rated for at least 200 pounds of force and used within its design limits.
Affiliate Disclaimer: We are a participant in the Amazon Services LLC Associates Program, an affiliate advertising program designed to provide a means for sites to earn advertising fees by advertising and linking to Amazon.com. As an Amazon Associate I earn from qualifying purchases. We also participate in other affiliate programs.

Building a homemade bow press can save money, but it requires metalworking skills, quality materials, and a thorough understanding of the forces involved. A DIY bow press is only safe when constructed from steel tubing with proper welds, designed to handle at least 200 pounds of force, and used exclusively on bows within its rated capacity. However, beginners should avoid homemade presses entirely due to the catastrophic injury risk if the press fails during use.
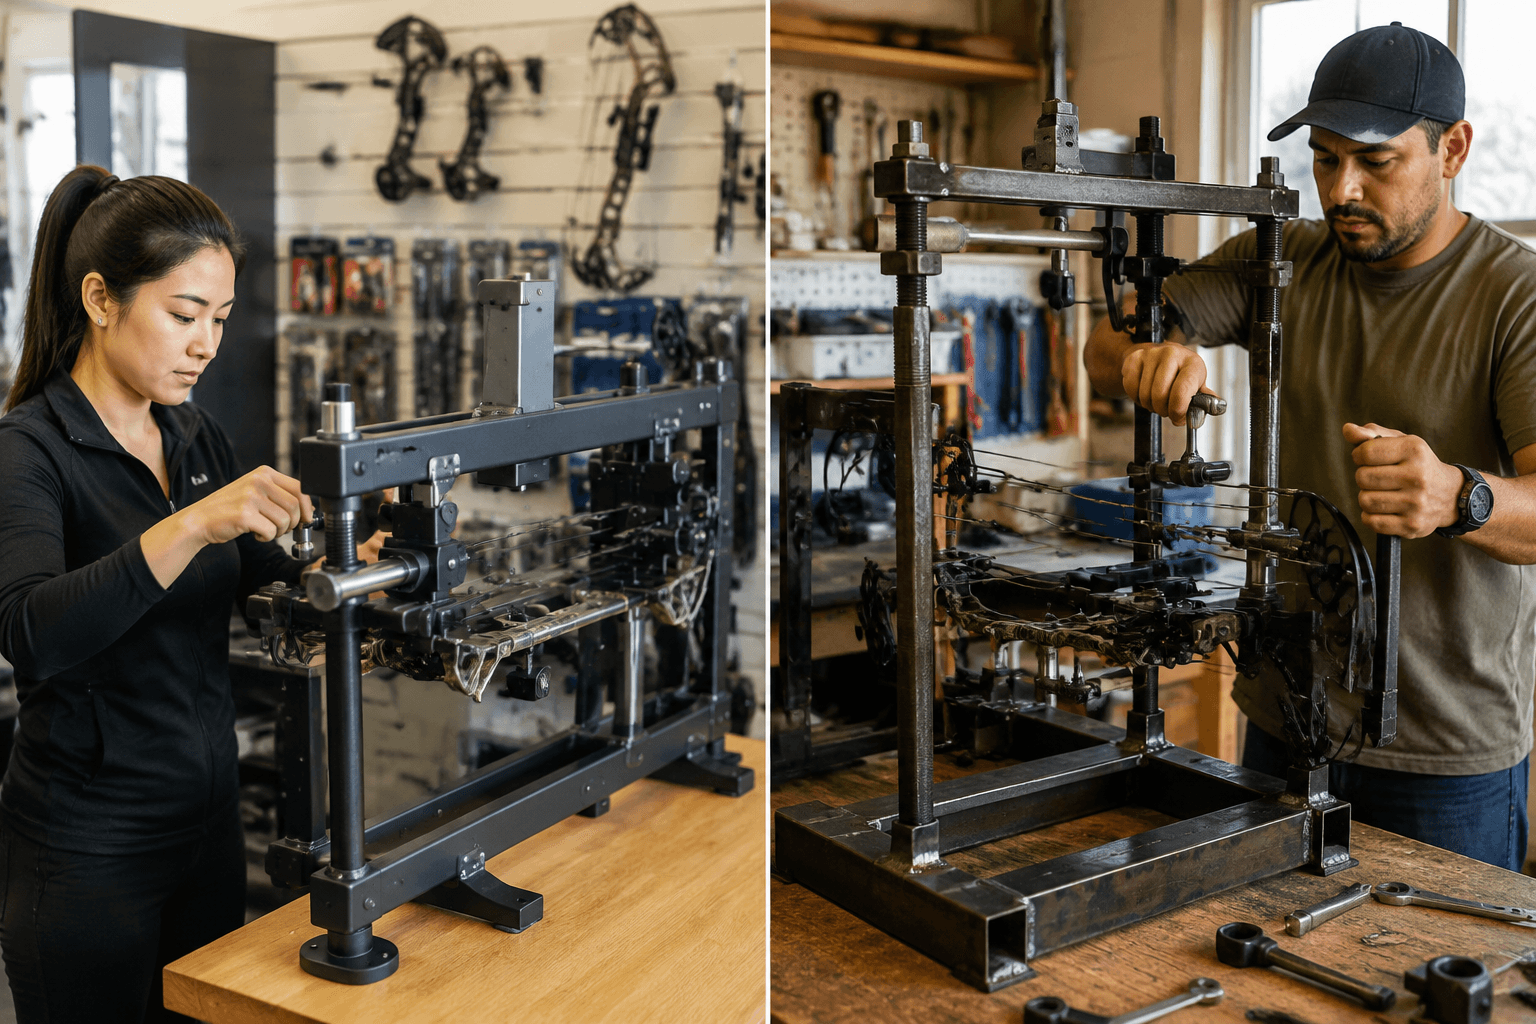
A bow press is a specialized tool that compresses the limbs of a compound bow, relieving tension on the string and cables so you can perform maintenance and modifications safely. Without a press, the stored energy in a compound bow’s limbs (typically 60-80 pounds of force) makes it impossible to safely remove or adjust strings, cables, cams, or other components.
Compound bow owners need a press for several essential tasks:
The press works by applying controlled pressure to the limb tips or pockets, gradually compressing them until the cables and string go slack. This process must be smooth, controlled, and evenly distributed to prevent limb twist or damage. Understanding how to make a bow press safely (when not to) starts with recognizing that this tool handles extreme forces that can cause serious injury if released unexpectedly.
Professional bow presses are always safer than homemade versions because they’re engineered to specific tolerances, tested under load, and designed with fail-safes. Commercial presses from manufacturers like Apple Archery, Last Chance Archery, and EZ Press undergo quality control testing and are built to handle the full range of bow configurations safely.
Professional Bow Press Advantages:
DIY Bow Press Limitations:
A well-built DIY press can be safe for personal use on standard hunting bows, but it requires metalworking expertise and quality materials. The safety margin is narrower, and the builder assumes all liability. For anyone working on multiple bows, operating a pro shop, or lacking fabrication skills, a commercial press is the only responsible choice.
Commercial bow presses range from $150 for basic portable models to $800 for professional shop-grade equipment. The price reflects build quality, capacity, and versatility across different bow designs.
Price Breakdown by Category:
Budget-conscious archers often justify DIY builds by comparing material costs ($100-$200) against commercial prices. However, this calculation ignores the value of engineering, testing, and warranty coverage. A $300 commercial press that lasts 20 years and handles any bow safely costs $15 per year, making it a reasonable investment for serious archers.
For those who only need occasional bow work, many pro shops offer press services for $10-$20 per session, which may be more economical than building or buying equipment that sits unused most of the year.
Pressing a compound bow without a proper bow press is extremely dangerous and should never be attempted. Some online sources suggest using ratchet straps, come-alongs, or improvised leverage methods, but these approaches lack the controlled, even pressure distribution that prevents limb twist and catastrophic failure.
Why Alternative Methods Fail:
The only exception is emergency field repairs using a portable bow press specifically designed for that purpose. These compact tools (like the Last Chance or Bowmaster portable press) are engineered to safely compress limbs in hunting situations where a full shop press isn’t available. Even then, they should only be used for minor adjustments like peep sight rotation, not major component replacement.
For archers wondering how to make a bow press safely (when not to), the answer is clear: if you’re considering alternatives to a proper press, you’re in “when not to” territory. The risk of injury or equipment damage far outweighs any perceived convenience or cost savings.
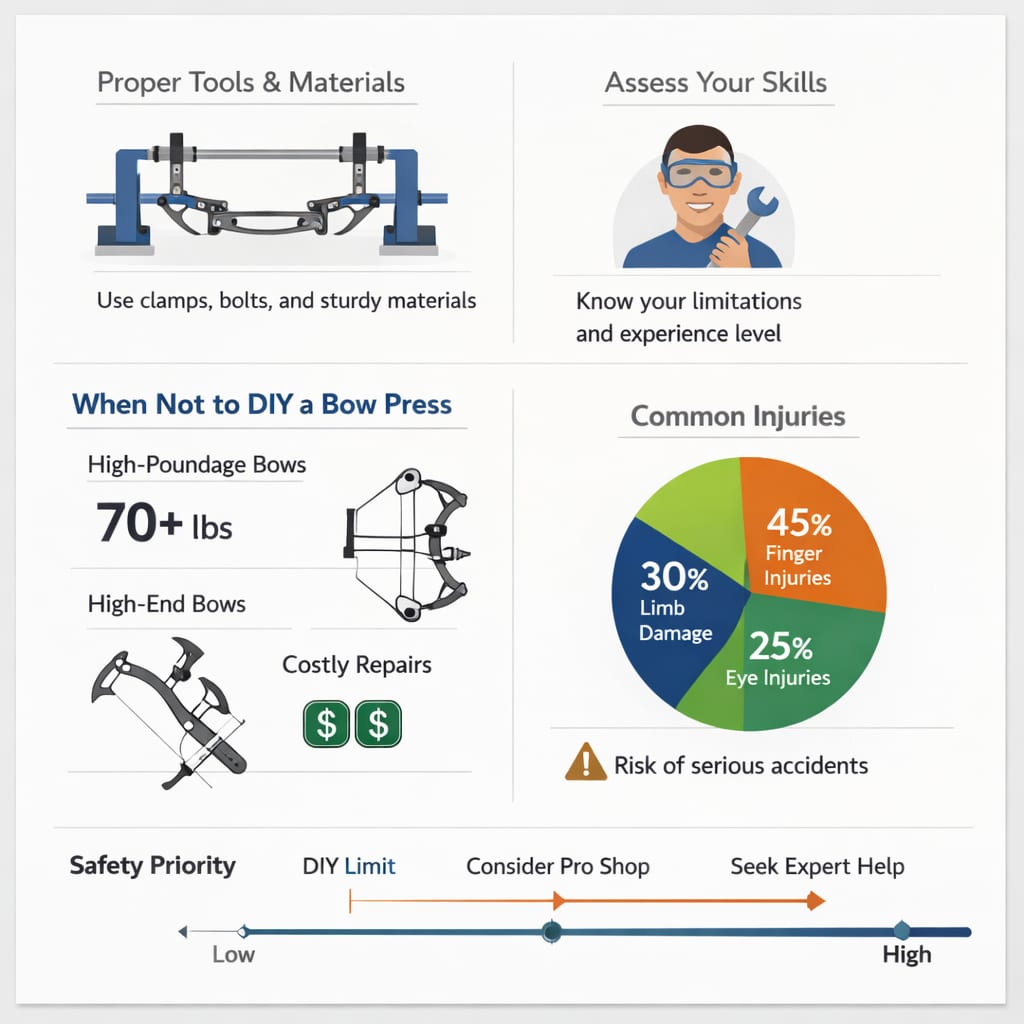
Never use a homemade bow press if you lack metalworking experience, cannot verify weld quality, or plan to work on high-performance bows. Certain situations absolutely require professional equipment or pro shop services.
Absolute Contraindications for DIY Presses:
Beginners should never use homemade presses regardless of construction quality. Understanding bow mechanics, recognizing proper limb alignment, and identifying potential problems requires experience that only comes from working with many bows under supervision. Even experienced archers should avoid DIY presses for valuable or irreplaceable bows.
If you’re building a press for occasional use on your own hunting bow and have welding skills, proceed with extreme caution. If you’re considering a press for business use, client bows, or lack fabrication experience, invest in commercial equipment. The liability exposure alone justifies the cost difference.
Bow press accidents can cause severe injuries including lacerations, broken bones, eye injuries, and even death. When a compressed bow limb releases unexpectedly, it moves at speeds exceeding 200 feet per second with forces that can easily break bones or penetrate soft tissue.
Common Bow Press Injuries:
Critical Safety Failures:
The forces involved in bow pressing are comparable to those in automotive suspension work. Just as you wouldn’t trust a homemade jack to hold up a car, a bow press must be engineered to contain and control extreme forces safely. Anyone learning archery safety principles should understand that bow maintenance carries risks equal to shooting.
Steel tubing with a minimum wall thickness of 0.125 inches (1/8 inch) is the only acceptable material for a homemade bow press frame. The press must be constructed from materials that won’t bend, crack, or fail under sustained loads of 200-300 pounds.
Required Materials:
Materials to Avoid:
Welding Requirements:
All joints must be welded by a certified welder using proper penetration welds, not tack welds. MIG or TIG welding is acceptable if performed correctly. Bolted connections are inferior to welded joints for primary structural elements but acceptable for adjustable components.
The total material cost for a quality DIY press typically runs $100-$200, assuming you have access to welding equipment and metalworking tools. If you need to purchase or rent equipment, the cost approaches that of a commercial press, eliminating the financial advantage.
A bow exceeds DIY press capacity when its draw weight surpasses 70 pounds, uses parallel limb geometry, or incorporates high-performance cam systems designed for competition. Most homemade presses are built for standard hunting bows in the 50-70 pound range.
Signs Your Bow Needs Professional Equipment:
Testing Press Capacity:
Before using a DIY press on your primary bow, test it on an inexpensive or older bow of similar draw weight. Apply pressure gradually while watching for:
If the press shows any signs of stress or the compression feels uncontrolled, it’s not safe for use. A properly sized press should compress limbs smoothly with no visible frame deflection. The operator should be able to stop and hold at any point in the compression cycle without strain.
For those working on multiple bows or upgrading to higher-performance equipment, a commercial press becomes essential. The versatility to handle any bow configuration safely is worth the investment for serious archers.
The most common DIY bow press mistake is using insufficient material thickness, resulting in frame flex that causes uneven limb pressure and potential bow damage. Many builders underestimate the forces involved and construct presses that work initially but develop stress cracks after repeated use.
Critical Design Errors:
Construction Mistakes:
Operational Errors:
Many of these mistakes aren’t apparent until the press fails during use. This is why testing on expendable equipment and conducting thorough inspections before each use are non-negotiable safety requirements. Anyone building a press should document the construction process with photos and maintain a log of bows pressed and any issues encountered.
Crossbows require specialized presses designed for their horizontal limb orientation and higher draw weights. Standard compound bow presses cannot safely accommodate crossbow geometry and may damage the limbs or stock.
Crossbow limbs generate significantly more force than compound bow limbs (often 150-200+ pounds) and are positioned horizontally rather than vertically. This geometry requires press designs that support the stock while applying even pressure to both limb tips simultaneously. The pressing motion is also different, typically compressing limbs toward the stock rather than toward each other.
Crossbow Press Differences:
Commercial crossbow presses cost $200-$400 and are essential for anyone maintaining crossbow equipment. DIY crossbow presses are even more dangerous than compound bow presses due to the higher forces and more complex geometry. Unless you have professional engineering and fabrication skills, crossbow maintenance should be performed by qualified technicians or using manufacturer-approved equipment.
The risks of crossbow press failure are proportionally higher due to the increased energy storage. A failed crossbow press can release forces equivalent to a small explosion, making proper equipment and technique absolutely critical.
Beginners should never make their own bow press. The combination of limited bow knowledge, lack of metalworking experience, and inability to recognize potential problems creates an unacceptable risk of injury or equipment damage.
New archers learning compound bow technique should focus on shooting skills and basic maintenance before attempting advanced work that requires specialized tools. The learning curve for safe bow pressing is steep, and mistakes can be catastrophic.
Better Options for Beginners:
The path to safely using any bow press (DIY or commercial) requires:
This knowledge typically takes 1-2 years of active involvement in archery to develop. Rushing into DIY press construction or unsupervised bow work shortcuts this learning process and increases risk exponentially.
For beginners wondering how to make a bow press safely (when not to), the answer is straightforward: don’t make one until you’ve successfully used commercial presses on dozens of bows and understand exactly what can go wrong. Even then, carefully evaluate whether the cost savings justify the increased risk.
Bow press failure during use releases stored limb energy instantaneously, causing the bow to explode with forces that can break bones, sever fingers, or cause fatal injuries. The limbs act like springs under extreme tension, and sudden release accelerates components to speeds exceeding 200 feet per second.
Catastrophic Failure Scenarios:
Injury Patterns:
Real-world bow press accidents have resulted in permanent disability and death. The forces involved are comparable to industrial machinery accidents, not typical sporting equipment mishaps. This is why professional shops carry liability insurance and why DIY press builders assume significant personal risk.
Liability Considerations:
If you build a press and allow others to use it, you may be liable for injuries that result from design or construction defects. This exposure extends to family members, friends, and anyone else who might use the equipment. Homeowner’s insurance typically excludes coverage for injuries from homemade tools or equipment used in business activities.
Portable bow presses designed for field use offer a compromise between full shop presses and no equipment, but they’re limited to minor adjustments and emergency repairs. These compact tools can handle tasks like peep sight rotation or cable slide adjustment but should never replace proper equipment for major work.
Legitimate Portable Press Options:
Appropriate Field Press Uses:
Never Use Portable Presses For:
Portable presses work by applying pressure to limb tips using a compact frame and screw mechanism. They’re designed for quick adjustments in hunting situations where returning to a shop isn’t practical. However, they lack the stability, capacity, and safety features of full-size presses.
Hunters heading into backcountry situations should carry a portable press as emergency equipment, similar to carrying a first aid kit. It’s there for unexpected problems, not routine maintenance. All major bow work should still be performed with proper shop equipment before the hunting season begins. For more information on preparing equipment safely, see our guide on how to practice with broadheads safely.
Testing a homemade bow press requires progressive loading on expendable equipment while carefully inspecting for stress indicators. Never test a DIY press on your primary hunting bow or any bow you cannot afford to replace.
Progressive Testing Protocol:
Inspection Points:
Red Flags That Indicate Failure:
If the press passes all tests, begin using it on your own bows only, starting with your least valuable equipment. Maintain a log of each use and conduct thorough inspections before every pressing session. Any signs of wear, stress, or damage require immediate retirement of the press.
Remember that metal fatigue accumulates over time. A press that tests safely when new may develop stress cracks after 50 or 100 uses. Regular inspection and conservative use limits are essential for long-term safety.
Understanding how to make a bow press safely (when not to) requires honest assessment of your skills, equipment, and risk tolerance. While a well-constructed DIY press can serve personal needs for standard hunting bows, the margin for error is narrow and the consequences of failure are severe.
Key Decision Factors:
The $150-$300 cost difference between DIY and commercial presses narrows significantly when you factor in materials, equipment, time, and risk. For most archers, a commercial press or pro shop services offer better value and peace of mind.
Immediate Action Steps:
For archers committed to equipment maintenance, investing in proper tools and education pays dividends in safety and performance. Whether you choose to build, buy, or outsource bow pressing, prioritize safety over convenience or cost savings. Your hands, eyes, and life are worth more than any amount saved on equipment.
Continue developing your archery skills with our guides on bow tuning and archery form to complement your equipment maintenance knowledge.
Can you make a bow press out of wood? No, wood lacks the strength and rigidity required for safe bow pressing. Wood can splinter, crack, or fail suddenly under the 200+ pound forces involved in compressing compound bow limbs. Only steel construction with proper welds is acceptable for bow press frames.
How much does it cost to have a pro shop press your bow? Most pro shops charge $10-$20 for basic bow pressing services. This typically includes string or cable installation, peep sight adjustment, or other maintenance requiring press use. Complex work like cam timing may cost more but rarely exceeds $50.
What draw weight is too high for a homemade bow press? Homemade bow presses should not be used on bows exceeding 70 pounds draw weight. Higher draw weights generate forces that exceed the capacity of most DIY press designs and increase the risk of catastrophic failure during use.
How often should you inspect a DIY bow press? Inspect a homemade bow press before every use, examining welds, fasteners, and structural components for cracks, deformation, or wear. After every 25 uses, conduct a detailed inspection including disassembly of adjustable components to check for hidden damage.
Can you use a hydraulic jack as a bow press? Never use a hydraulic jack or other improvised tools as a bow press. These devices lack the controlled, even pressure distribution required to safely compress bow limbs and can cause limb twist, damage, or catastrophic failure resulting in serious injury.
What safety equipment should you wear when using a bow press? Always wear safety glasses and leather gloves when operating any bow press. Position your body outside the plane of the limbs during compression and never place your face near compressed limbs. Work in a clear area free of bystanders.
How long does it take to build a homemade bow press? A quality DIY bow press requires 8-12 hours of fabrication time for someone with welding and metalworking experience. This includes design, material cutting, welding, finishing, and testing. Inexperienced builders may require significantly more time.
Can a bow press damage your bow? Yes, improper pressing can crack limbs, damage cams, or twist limbs out of alignment. Using a press with inadequate padding, applying uneven pressure, or over-compressing limbs beyond their design limits can cause permanent damage requiring expensive repairs or replacement.
What’s the difference between a limb press and a string press? Limb presses apply pressure directly to the limb tips or pockets, while string presses compress the bow by pulling the string and cables. Limb presses are more common and versatile, while string presses are limited to specific bow designs and generally less safe.
Do you need a bow press to change strings? Yes, a bow press is essential for safely changing strings or cables on a compound bow. The stored energy in the limbs makes it impossible to remove or install strings without first relieving tension through proper pressing.
How do you know if your bow press is failing? Warning signs include visible frame flex during use, cracking sounds, uneven limb compression, loose fasteners, weld cracks, or difficulty controlling compression rate. Any of these indicators requires immediate cessation of use and thorough inspection or press retirement.
Can you rent a bow press? Some archery shops and equipment rental facilities offer bow press rental, typically for $20-$40 per day. However, rental availability is limited, and most archers find pro shop services more convenient and economical for occasional bow maintenance needs.